Bind across one end of the quilted piece. This is the end that will be hidden under the flap. I used an odd end of binding left over from an old project.
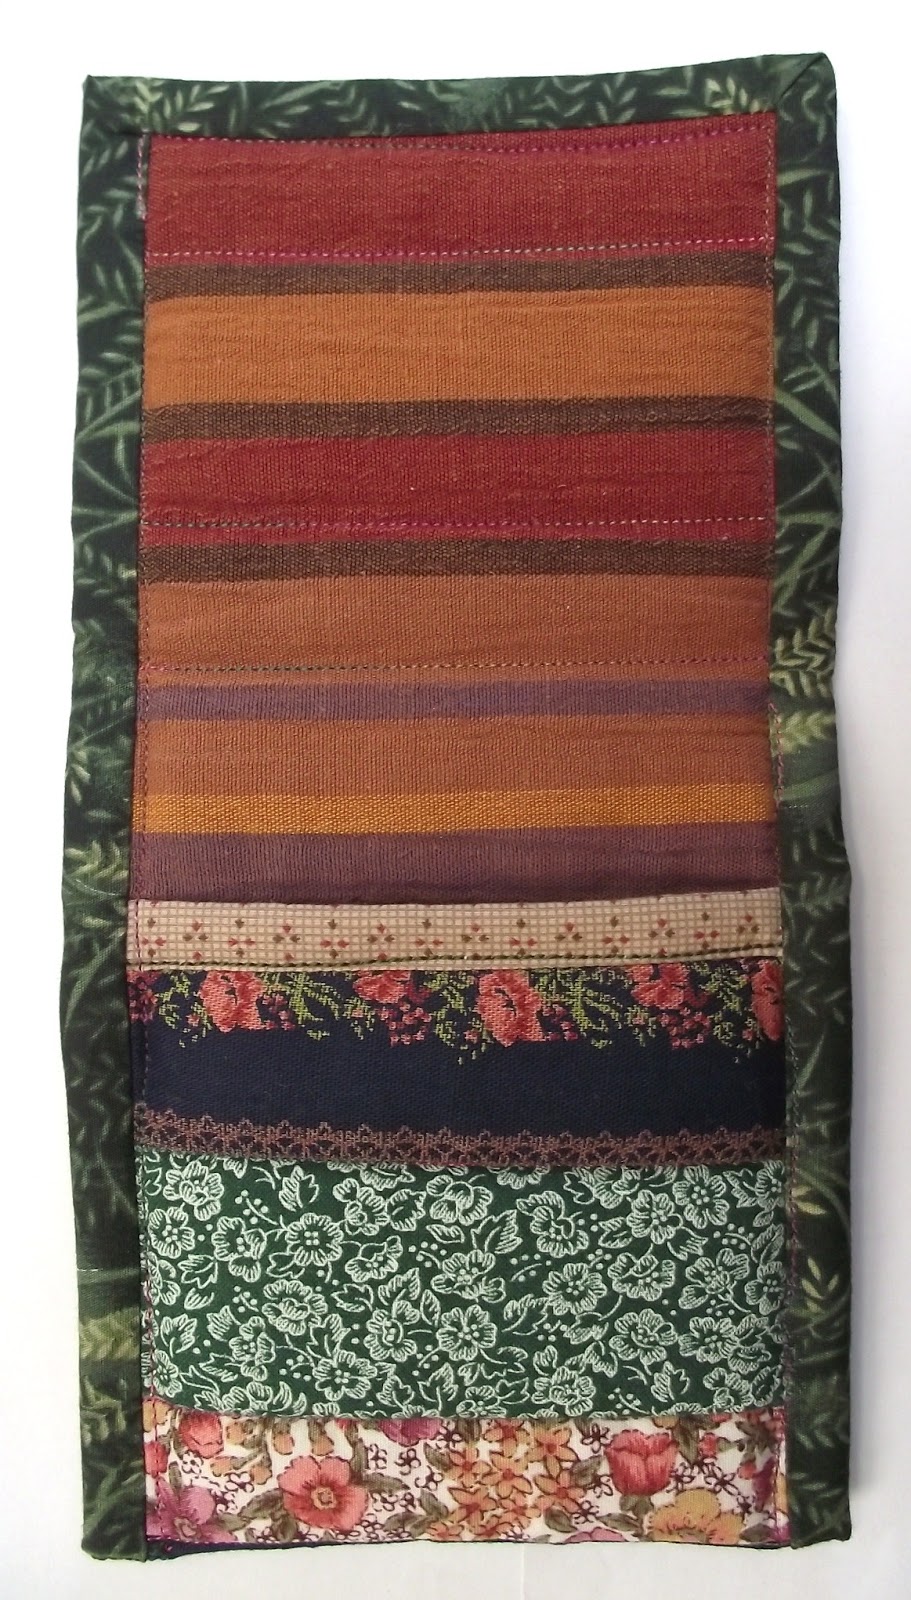
Fold the cosy over and sew the two side seams. With the mobile phone inside it you can see that there is a generous sized flap to fold over, Also you can see the material I used for the inside. Not particularly attractive, but it will rarely be seen.
Before putting on the binding, trim with the rotary cutter down each side to give a clean straight edge.
Now the first line of stitching for binding is done, with the top two corners mitred. At the bottom left I had a selvedge edge at the beginning of the binding; at the bottom right I had to fold in the raw edge.
This shows the binding with the second line of stitching finished. There is a piece of black elastic going across the back, with each end held in place under the binding. It might be difficult to spot, because is goes across the navy strip below the broad green strip.
Here is the view of the other side...
... and with the flap folded over...
... and of the back.
The elastic can be pulled over to the front when the phone is inside to keep the flap down. The other option is to sew on a button and make a loop to fasten over it. Perhaps I will do that with the second one.
This is the first project using the 1949 Singer 15K hand machine that I have recently cleaned up.
Mobile phone cosies are so easy to make, so I will show you the method.
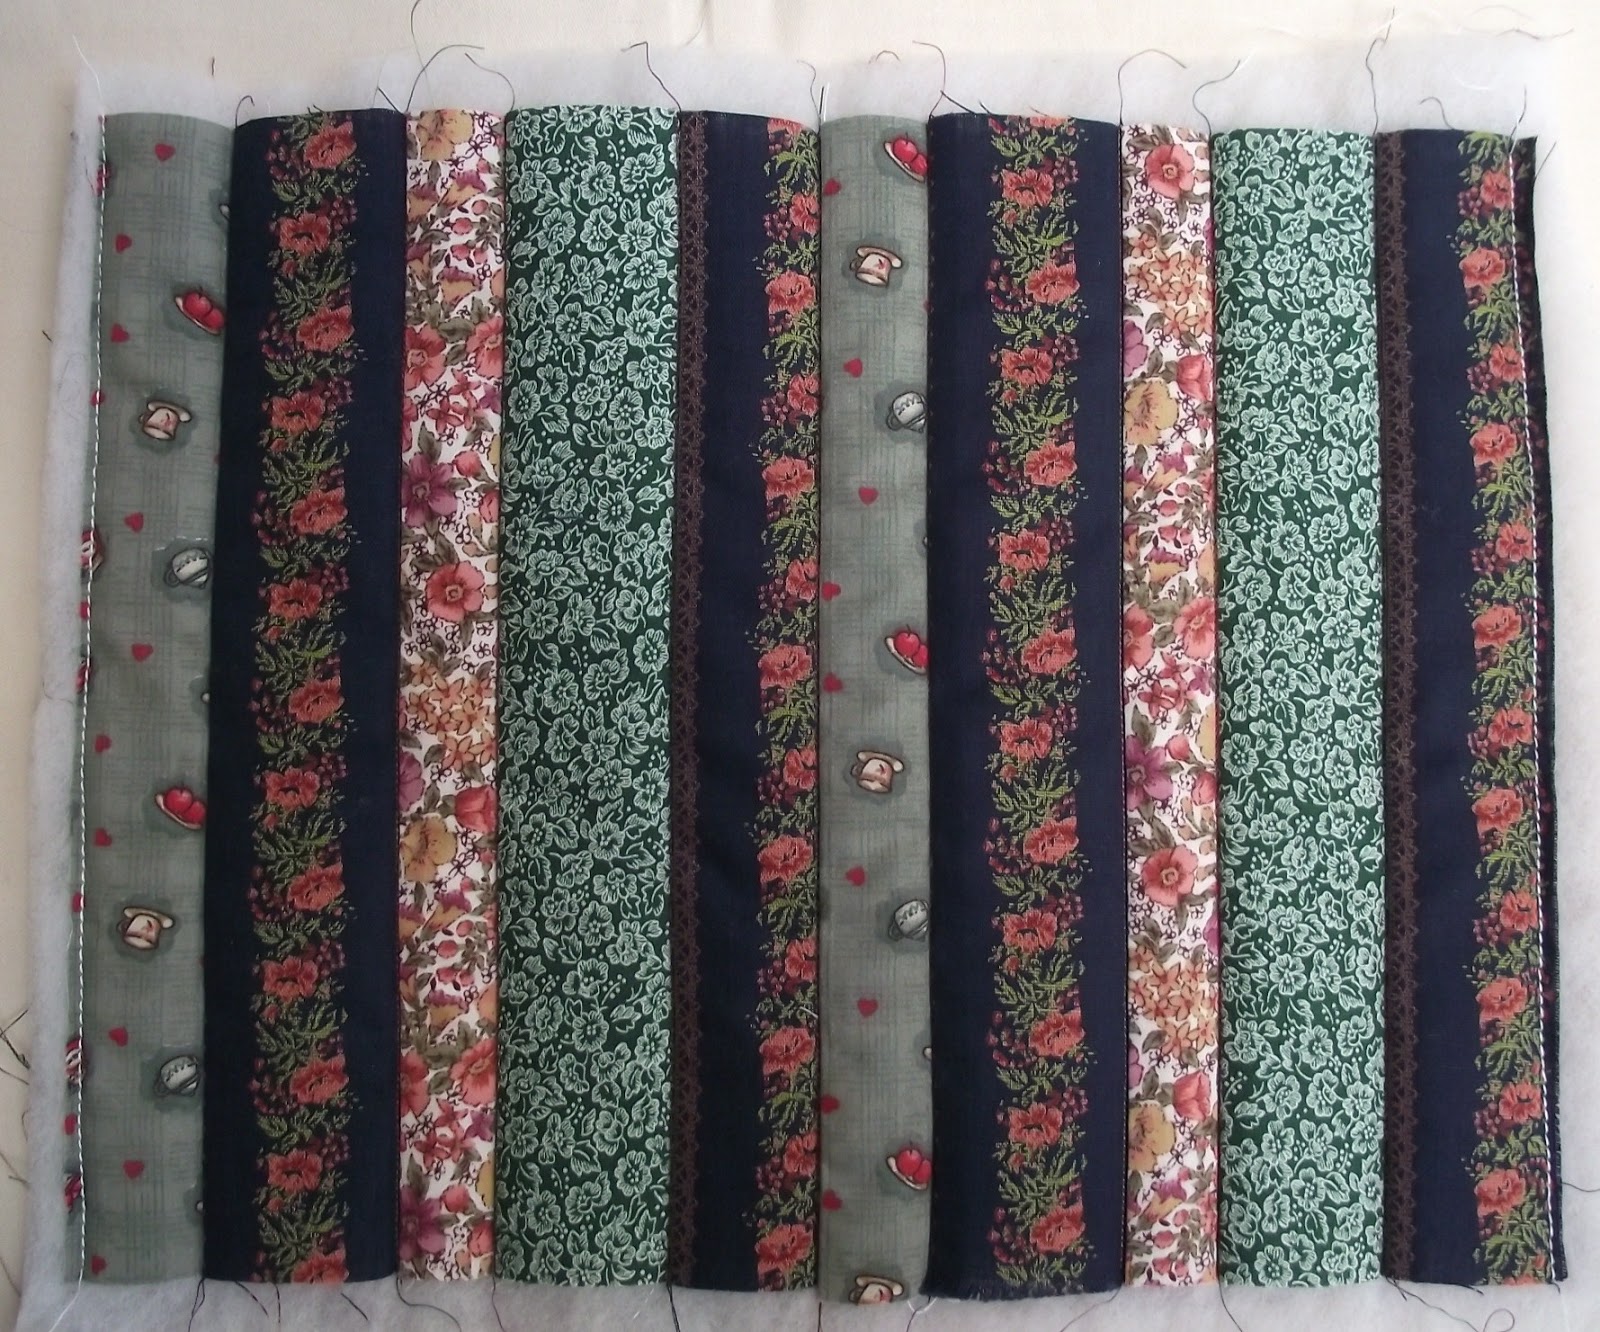
First, I raided my jar of scraps and found a few strips, which I have sewn together to make a small panel.
I used a seam guide to keep the seams straight and even, and ironed the seam allowances to one side, all in the same direction.
I haven't been fussy about measuring it because a sheet of A4 size paper will give you the approximate measurements you need. Here is a sheet of A4 laid over the panel, showing that there is a little extra all round.
Next, make the quilt sandwich. Here it is, held in place with a few safety pins.
Straight line quilting along the seam lines is the quickest and easiest method. This isn't a fancy project.
A line of machine stitching at each end will make it easier to put the binding on later.
Next, use the rotary cutter to square off the quilted panel into a neat rectangle.
Finally, cut the panel in half lengthways. Each strip is approximately four and a half inches wide.
This way you will end up with two mobile phone cosies. If you make one, you can be sure somebody else will want one, so I've decided to save time and just make two in the first place.
It comes in a handy little tin from the music shop and costs less than three quid.
It looks like barley sugar but tastes nothing like it. I know. I tried it when I was little.
If it stops violin bows sliding across the strings when they get greasy, it can do much the same for leather belts when they slip on treadle wheels.
The 201K treadle was a bit sluggish. The machine was well oiled and turning well, and so was the treadle wheel. The problem was the belt. I was assuming it was too slack because it had stretched with age, but it didn't seem any great deal slacker than the belt on the 15K, which goes like the clappers.
I knew if I tried to shorten the belt I would probably end up needing a new one anyway, so I tried the easy option. I gave the treadle wheel a thorough wiping, to make sure there was no oil in the groove, and then ran the wheel with the rosin scraping on the rims of the groove. The rosin dust has made all the difference. The treadle belt is now gripping, and I can run the machine fast enough for the needle to become a blur, which I just couldn't do beforehand.
Helen Howes has a good page of advice about treadle belts on her website. It is well worth reading.
I love hoverflies. Nice smart stripy little chaps.
Here is the view inside the back inspection plate. This was before I got rid of all the nasty brown residue.
At the top of the shaft that goes down into the pillar there is a tuft of fluff sticking up. At this stage it just looks like part of the general muckiness.
Now a view of the top of the machine. Beside the spool pin there is an unusually large oil hole.
Turn the wheel so the the head of the shaft is directly beneath the hole. Here I have put a cocktail stick into the hole to go down inside...
... to the top of the shaft. This is where the fluff was sticking up. In fact it is another of those little felt oil wells, like the ones at the top of the presser bar and needlebar. When oiling the machine the wheel has to be turned so that the oil well is directly beneath the hole. This hole is big enough for you actually to see down inside so you can see when the top of the shaft is in the right position for oiling.
Although the last picture isn't fabulously clear, I'm sure you get the general idea, and you might even have noticed that the machine is considerably cleaner than in the first picture. All that rubbish had to be cleaned off before the oil went on.
Here is the latest machine, a beautiful Singer 201K treadle manufactured in 1936.
I had a devil of a job trying to get decent pictures today - poor light, reflections, etc. etc., but I'm sure you get the general idea...
The only job I have left to do is to get a new treadle belt. The old belt on it is a bit stretched and keeps slipping.
The easiest way to spot a 201 is to look at the spool pin. There should be a long, round-ended metal plate beneath the spool pin, which has holes in for oiling.
The needlebar comes down from inside a steel tube.
The needle has to be threaded from right to left, and the needle is set into the needle clamp with the flat side to the left.
And here is a nice loving arty shot of the needle reflected in the plate underneath.
It is time I concentrated on my sewing.
I threw this together last night - not my neatest piece of work ever, but I needed to try out the latest acquisition, a 1936 Singer 201K treadle. The treadle belt was a bit slack and slippery, but there's absolutely nothing to complain about with the stitch. The machine is now cleaned up, oiled and gleaming. When I get a new treadle belt on it it should run like a train.
This is the back of the mobile phone cosy. Once the phone is inside you can pull the elastic over to the front to keep the flap down.
We saw the machine out at the front of a second hand furniture shop on Saturday. It was an instant purchase - a 201K treadle in good condition is not to be sniffed at. The car was parked a few yards along the road and two young lads from the shop lugged the machine along the pavement and heaved it into the boot. One of them was really interested in the machine and said he was sad to see it go. I promised to make him something on it, so this mobile phone cosy is for him, complete with his initials.
Welcome to Felicity, the latest follower - thank you for joining!