This is the state of my Singer 15K treadle after a free motion quilting session. Every time I change a bobbin I check for fluff, and pull or blow out what I can see. I also have a pair of pointed tweezers which I use for pulling out the miniature hearth rugs that form under the feed dog teeth.
These little clouds of fibres around the needlebar and hopping foot are easy to get rid of.
It is interesting how the fluff works its way upwards...
... and inside the machine. The other day I took off the face plate, the first time for months, for a quick defluffing session. I was pleasantly surprised that it wasn't worse.
Welcome to Alessandra, the latest follower - thank you for joining!
I love all these shades of pink together, especially with the sun shining through the butterfly's wings.
Welcome to Val, the latest follower - thank you for joining!
This week's free motion quilting sample ended up looking slightly like hawthorn leaves.
I quite enjoyed working on the green fabric, it made a pleasant change.
The tiny bonus triangles add a bit of interest. Hardly an exercise in perfect piecing, the points have disappeared, but the colours go just right.
And in this narrow strip I put in some really small scale quilting.
By this time next week I am hoping that this little panel will have been transformed into an item for the Quilting Gallery Blog Hop Party starting on 21st November...
Let's see how the sewing goes next week. If I mess it up I have a book I can give away instead.
Linking up again today with Leah Day's blog for Free Motion Friday
and Sarah's blog Confessions of a Fabric Addict for Whoop Whoop Friday
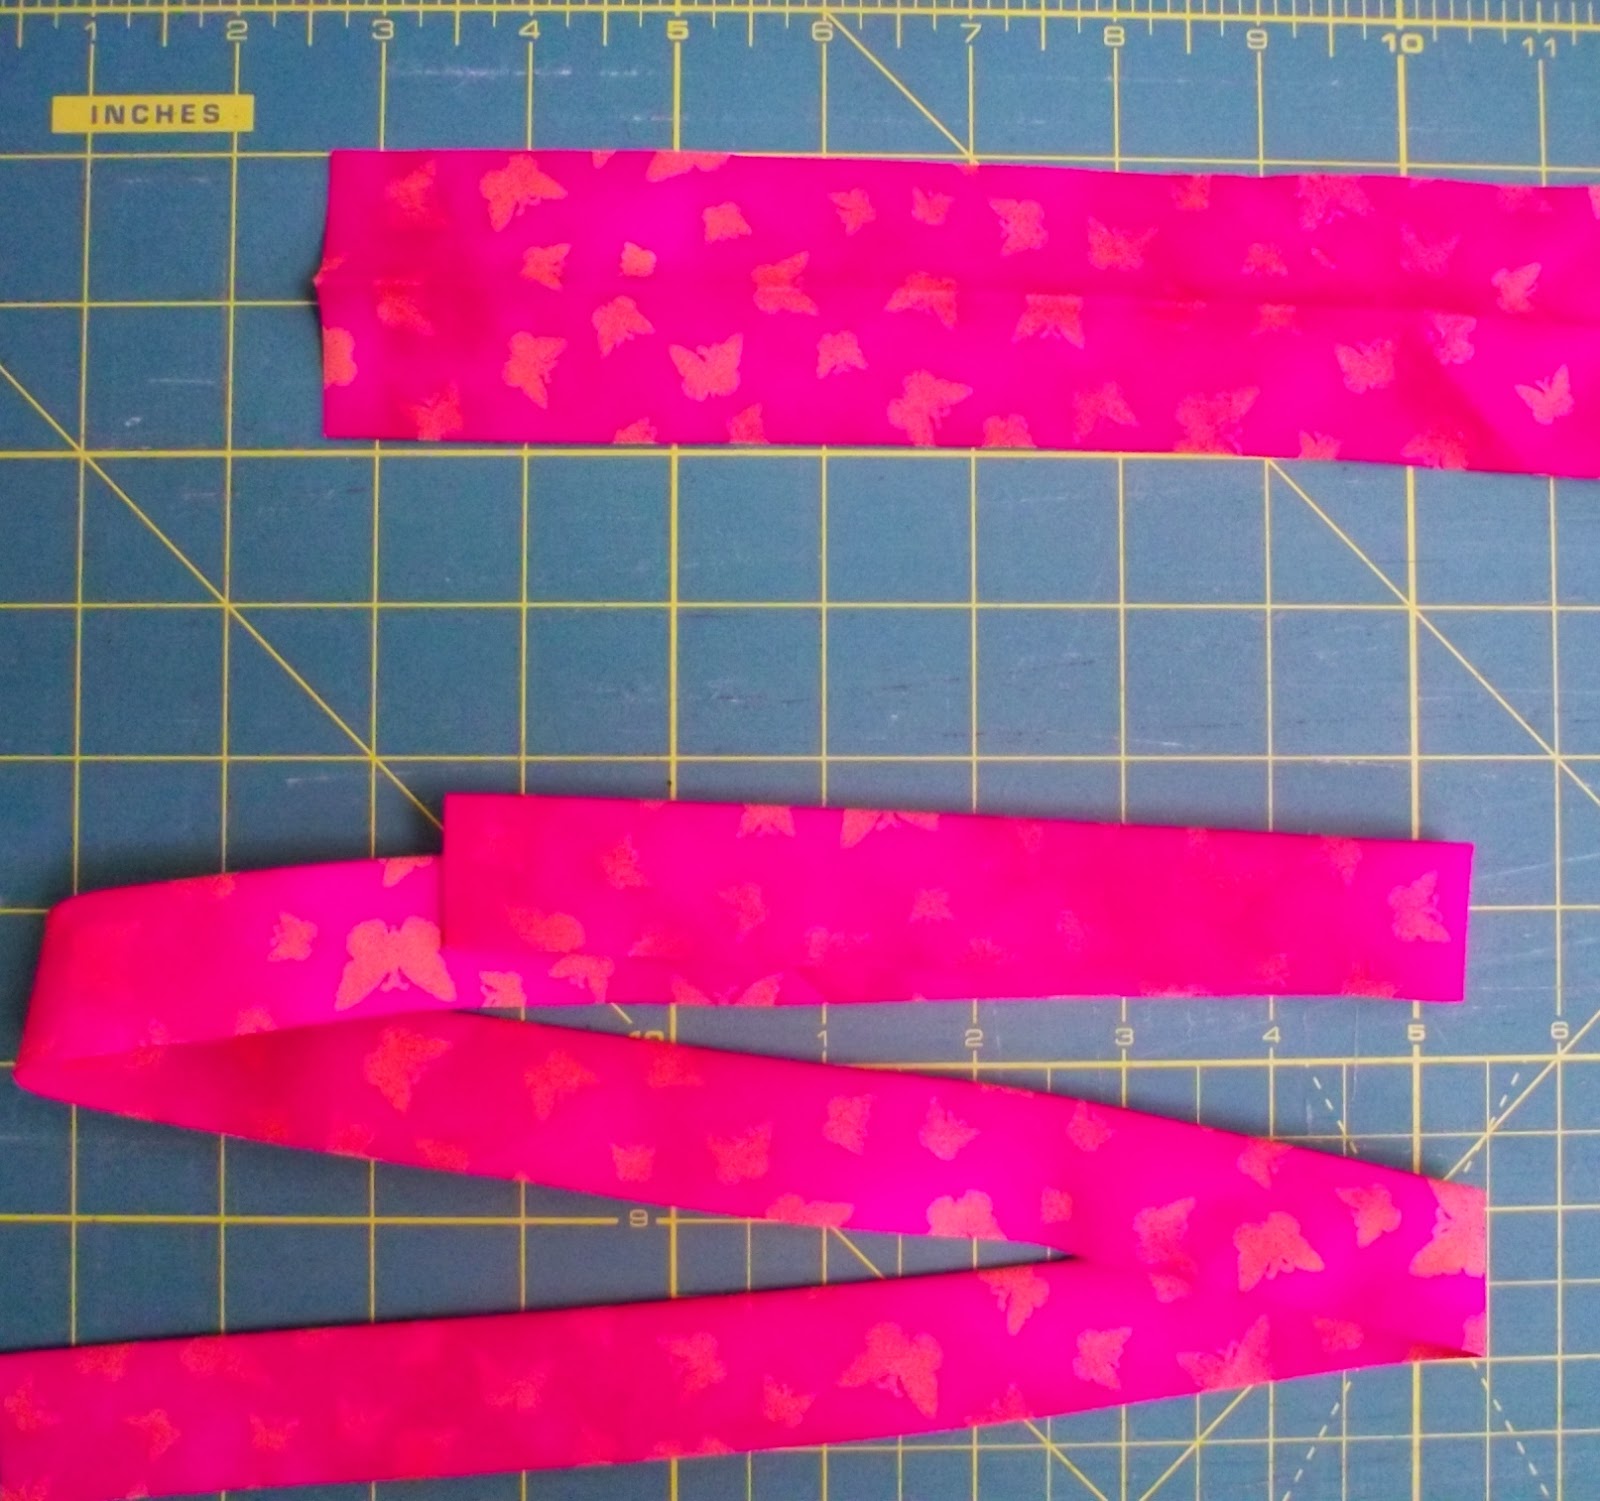
The straps are on...
... they are made from bias cut strips, each 36 inches long. I could have used broad bias binding, but I hadn't got any, so I had to cut my own strips. Each strip is 2 inches wide and folded in half, a double thickness binding. I could have cut them a bit broader, to measure say an inch and a half when folded, but any narrower than an inch would have been too fiddly.
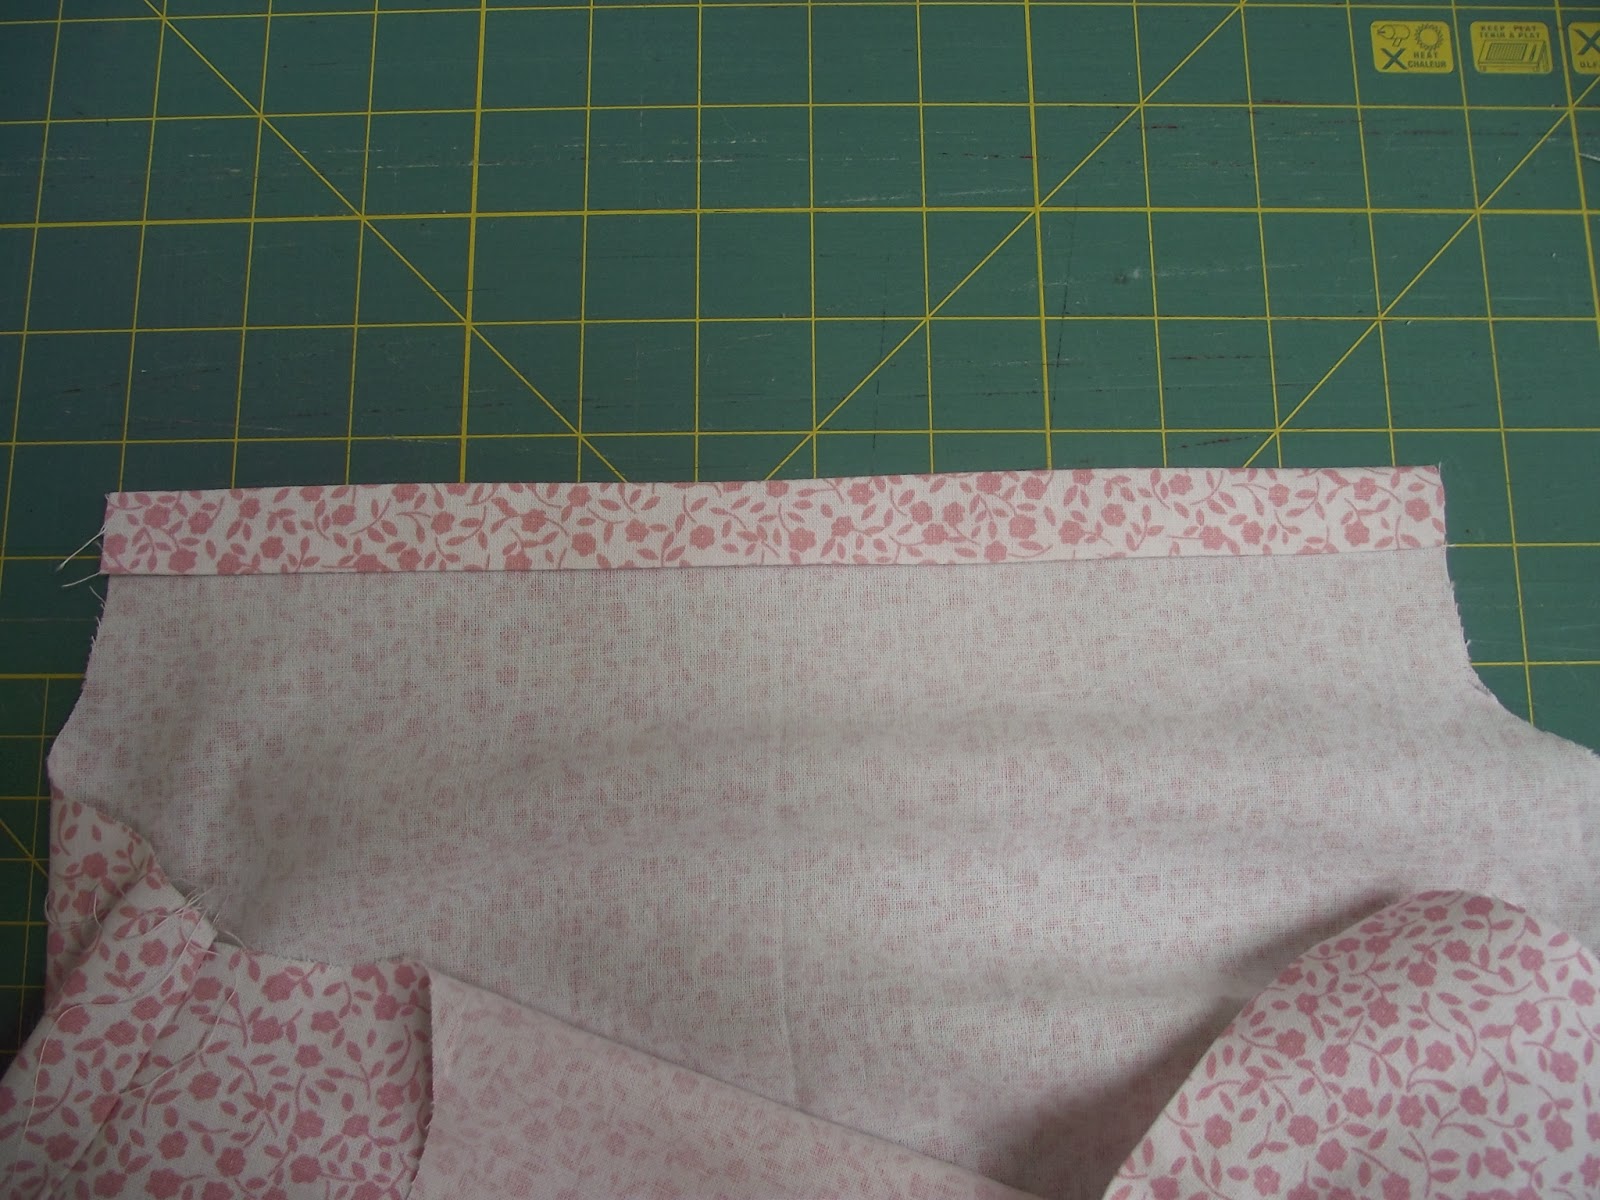
The middle point of the strip needs to be lined up with the side seam, and I attached it to the inside of the dress on the underarm edge, with about a quarter of an inch seam allowance.
The side seam was pressed towards the back.
Then it was time to rethread the machine with thread to match the binding, and fold the binding over for the second line of stitching. Where the binding extends beyond the seam to form the shoulder strap, it is best to iron the fold down the centre of the strap before doing the stitching.
The second line of stitching is worked on the outside of the dress...
...and continues on along the edge of the strap.
Because the strap is cut on the bias, it can have a tendency to twist if it only has one line of stitching. For this reason I do a line of stitching along the folded edge also, and stitch across the end to prevent the raw edges fraying.
So all the dress needs now is a narrow hem around the bottom,
and it's finished.
Let's hope that somewhere in the world a little girl will be thrilled to wear it!
This time last year I had a great time at Cordial and Grace making dresses the charity Dress A Girl. This Friday it's all happening again.
Today I started a dress so I can post some instructions. This is the pattern I have used, which I have adapted from the pattern that can be printed off at LBG Studio. What I have done is added a bit of flare, and a curve to the hem, so the dress isn't so straight and a little girl can have more room for running.
Here are the dimensions for the top part of the pattern.
And here is the lower part of the pattern, showing the curve at the bottom edge.
And here are the measurements of the two vertical lines.
The pattern is placed on the fold of the material, and two pieces need to be cut out. The front and back of the dress are identical.
The first step was the two side seams. These need to be French seams, totally enclosing the raw edges and giving a hard wearing seam.
The seams need to be sewn from the top, the underarm, to the hem. If the pieces are not an exact match, then they can be cut and evened off at the hem edge.
The next bit to do is the top edges, which will have elastic inserted. First fold over and iron down just under a quarter of an inch.
Then fold over again to give a turning of three quarters of an inch.
The turning is then stitched down by machine, and I like to add an extra line of machining about an eighth of an inch from the folded edge.
Next, cut two lengths of elastic, each six inches long, and put a small safety pin at one end.
Insert the elastic, feeding the safety pin through the turning, until the end of the elastic is level with the edge of the turning. Machine stitch it in place. I always do three lines of stitching to be sure - elastic can fray and pull itself off the stitches if there is only a single line close to the end.
Now the fun starts at the other end. This is how to prevent the elastic pinging back and losing itself inside the turning. Pull the safety pin until the end of the elastic is level with the end of the turning, and hold the elastic in place with a large pin.
Now secure the elastic again with a safety pin. This means the first safety pin and the straight pin can be taken out, and the elastic stitched in place in the same way as the other end.
This is how the elasticated top edge looks when finished.
That's all for today! Tomorrow the shoulder straps will go on...
Welcome to Barbara, the latest follower - thank you for joining!
Taken in the late afternoon on 12th October.
Welcome to Sally and Debbie Kelly, the latest followers - thank you for joining!
Bristol Cenotaph this morning, Remembrance Sunday
The latest free motion experiment has a definite autumnal feel to it. The last time I did oak leaves and acorns it was in applique, which is slightly more time consuming.
The shape of the leaves was not much of a problem. I did the veins first and then went round them to give the outline.
The acorns were a bit more hit and miss, and using the dark thread the misses show more than I would like.
As always, botanical accuracy had to be compromised. A self-respecting real life oak hasn't got flimsy trailing branches, and the leaves have extremely short stems. I have to keep reminding myself that this is quilting, not botanical drawing.
When I was busy with the applique last year I was lucky enough to stroll into the museum and see a touring exhibition of Leonardo da Vinci drawings owned by the Queen. The drawings were displayed in individual glass cases, with the glass only a couple of inches from the paper so you could peer at them close up - which is what you need to do, because the drawings are really small, they would fit on a page of a school exercise book. I spent ages glued to this magnificent work.
Welcome to the latest followers, Susan and Gail Auen - thank you for joining!
Linking up again to Sarah's blog Confessions of a Fabric Addict for Whoop Whoop Friday and Leah Day's blog for Free Motion Friday.