Monday, 13 May 2019

On the Wall!


Six years ago today I took this photo.  Yesterday the stitched version finally made it to our living room wall, so here it is in all its glory, reflections and all.  

My husband made the frame out of oak, and I was in charge of mounting the landscape.  Rather than use card, I opted for fabric.  I backed the ivory coloured cotton with iron-on interfacing to stiffen it before stitching the outline, then put another layer of thick stiffening between it and the board on which is it mounted.  


The landscape is secured at each corner by stiches that go through a small hole in the board to the back.  To prevent these stitches pulling on and possibly damaging the actual work, I used a tiny glass bead.


At the back I tied the threads over a small metal button.  Because it is synthetic thread, which can sometimes unravel itself over time, I made sure I tied plenty of knots before tidying up the tail ends and cutting them off.

Having the picture on the wall has an interesting effect on me - it makes me just want to walk out of the house and enjoy the fresh air.  The fact that the weather is fine certainly helps, and I have a friend who is always glad to see me.


Free Motion Mavericks this week is at Andrée's blog Quilting and Learning and I'm linking up!

Friday, 3 May 2019

Threading the Willcox and Gibbs Automatic


Using the Willcox and Gibbs Automatic is an absolute delight.  However, I use it so seldom that I have to check the manual every time I need to thread it.  This is how it's done.

First, take the spool pin off, and put on the thread so that it unwinds to the front left. 


When the spool pin is back on the machine, the thread winds away towards the back.


Next, find the hole in the bar at the front of the machine - on mine it is right in the middle of the G of Gibbs.  Turn the wheel to raise the needle to its highest position... 


… and this aligns the two metal staples behind the hole into position...


… so that the thread can pass through, from the back towards the front.


The next stage is round this interesting little mechanism, referred to in the manual as the automatic tension.  The metal cap at the top bobs up and down with the motion of the machine, so the needle should remain in the raised position while threading so that there is a clearly visible groove just below the cap.


The thread is then laid in this groove from the left, going in a clockwise direction to come out at the front.


The thread then goes to the centre back of the machine, and through the hole in the little metal pillar...


… and carries on to the left and underneath this metal staple...


...then up, under this little bridge...


… then down through this hole in a little bar sticking out at the side...


… then straight down to the needle, which is threaded from left to right.


Now let's try out the stitch.


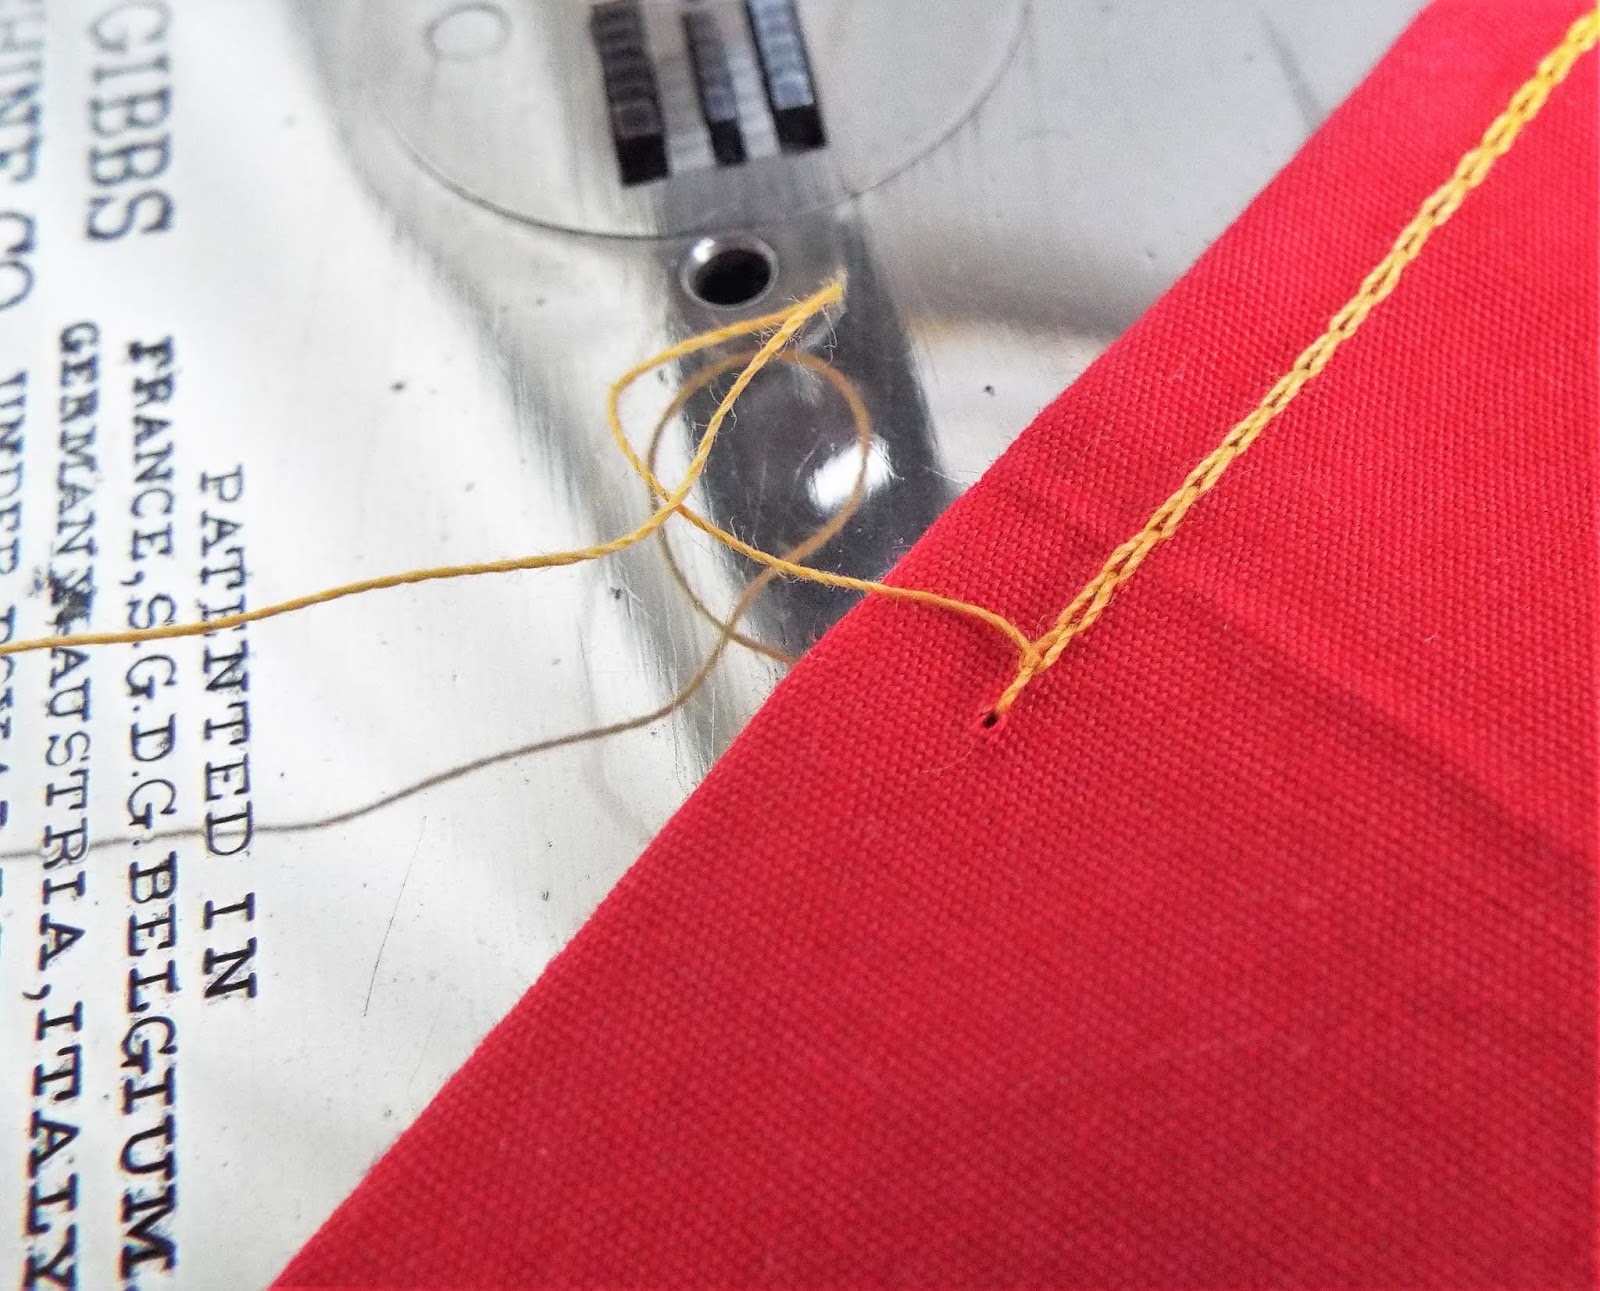
On the top it has the appearance of an ordinary straight lock stitch, but it is a single thread chain stitch.  To stop the chain stitch unravelling, the work has to be removed in a certain way.


First, pull the thread on the left hand side of the needle to give a few inches' slack.


Then pull the slack through to the right hand side of the needle, and cut the thread leaving a tail of about 4 inches, and leaving the needle threaded.


Then raise the foot and pull the work away gently in a south westerly direction.  The tail end is pulled through the machine and forms the last stitch...


… and ends up securely pulled through the previous stitch so it won't unravel.

Total genius.

Thursday, 2 May 2019

Free Motion Mavericks - Week 227 - On the Drawing Board


One of the hardest parts of a project is actually beginning.  Having decided what I am going to do, now I am thinking of how to actually approach it.  Much as I love doing stitched landscapes, interpreting a scene I know well and working from a photograph takes a certain leap of faith to get started.  I have made a preliminary sketch, which will be traced onto greaseproof paper to lay over the fabric just so I can plot certain points of the composition: this way I don't need to actually need to mark the fabric.  More importantly, I have spent some time gazing at the photo deciding where to start, and how to work out from there.  Also, I have been out walking and absorbing the colours around me.  The photo was taken three years ago in May, and today the colour of the sky was the same steely grey, contrasting with bright green of young leaves.  I love a deep grey sky with sunlight, but I will never capture it in thread.

 
Here goes for week 227:-


Many thanks to my co-host Andrée for showing us her practice piece on week 225 of the linky.  If you haven't seen her blog post yet, nip over now and see more.


If you have no free motion quilting to show, feel free to link up and show any project you like.  Here are the usual rules, but feel free to ignore them.  To keep the original emphasis, however, preference will be given to free motion quilting when featuring projects from the previous week.

If you love free motion quilting, whether you are a beginner just taking the plunge, or you have reached the stage where you can do ostrich feathers with your eyes shut and still achieve perfect symmetry, then please link up.

Remember, FMQ is FMQ, whether your machine was made last week, or it is older than your granny.

Here are the very easy and slightly elastic rules:-

1.  Link up with any recent post, ideally from the last week but within the last month, which features a free motion quilting project, whether it is a work in progress or a finish.

2.  Link back to this post in your own post.
  
3.  Visit as many of the other participants as possible and say hello in the comments box.

4.  The link up will remain open for four days, from midnight to midnight GMT for the long weekend, Friday to Monday.

So far quilters from the USA, England, Wales, Australia, Canada, Germany, Holland, New Zealand, France, Macau, Russia, Ireland and Brazil have taken part.  The first participant from each new country will get a special mention the following week.

Sunday, 28 April 2019

A Picture for Sunday - A Lively Breeze


How the camera can lie!

It was windy yesterday, and I enjoyed a good blast of fresh air in Clevedon.  From the promenade above the beach I noticed this girl watching the waves.  On this picture it looks as though she is about to walk into mountainous waves.  It is all an illusion, caused by foreshortening by the lens and the fact that the camera was angled down.  She was quite safe, walking along a low jetty, where I had been enjoying the view myself about an hour earlier.

Saturday, 27 April 2019

Fisherman's Rib


The last few knitted projects I have finished recently have all been in fisherman's rib.  I absolutely love the texture, and the effect when alternating stripes of two different random yarns is very pleasing.  It keeps me enthralled until well after midnight, and with two nieces having babies within a few weeks of each other this spring, I have been churning out little cardigans at a rate of knots.

I shall soon be ready to post instructions for the cardigan, but before doing so, here are the instructions for the stitch.  There is more than one method, but this is the method I prefer.

The first picture shows the back of the work.  Essentially, it is knit one purl one rib, but with a slight difference.  There is nothing unusual about the purl stitches.


However, for the knit stitches, the needle is not only put through the stitch, but also the yarn that was carried over the needle on the previous row.


On the next row, the knit stitches are worked in the normal way, and the yarn brought forward as if ready to work the next stitch as a purl.


The stitch is not actually worked, it is just slipped from the left to the right hand needle.


Then the next knit stitch is worked.  Because the yarn has been left at the front of the work, it has to be carried over the needle, and over the slipped purl stitch, to go round the back to make the knit stitch.  This row is very quick to knit, because half the stitches aren't being worked, just slipped.

If you have never tried this stitch before, knit a little sample square.  It is really quite easy.

Friday, 26 April 2019

Framing A Stitched Landscape


It's almost a year and a half since I finished this landscape, and finally we are getting round to framing it.  My husband has made a frame for it, and today I have been working on mounting it on the board.  Rather than using card, I decided to use fabric to surround it.  The cotton fabric is a lovely creamy ivory colour, just right for the job.

For the outline, I used one of the threads that I had used in the picture.  The Willcox and Gibbs machine makes a nice bold line of chain stitch.  Thank goodness I have the manual, because I have to check how to thread the machine every time I use it.

This was one of those jobs that takes a few minutes to think out and about three hours to actually do.  Plotting the position of the stitched outline and centring the landscape itself onto the back panel took the best part of the afternoon.  Now it is over to my husband for the next step.  The wood of the frame needs to be darkened just a shade, so he is going to try out some test pieces tomorrow so we can see them in the daylight and choose the best colour.


Free Motion Mavericks this week is at Andrée's blog Quilting and Learning and I'm linking up!

LinkWithin

Related Posts Plugin for WordPress, Blogger...