Thursday 26 February 2015

Free Motion Mavericks - Week 33 - Yet Another Cot Quilt


This was the week when I intended starting something interesting - a landscape, perhaps. As it turned out, I have spent far too much time slobbing around in a dressing gown beating off a virus.  I thought I had it beaten, until last night I lost my voice.  How am I going to fully enjoy instalment 4 of The Great British Sewing Bee this evening if I can't yell at the telly?

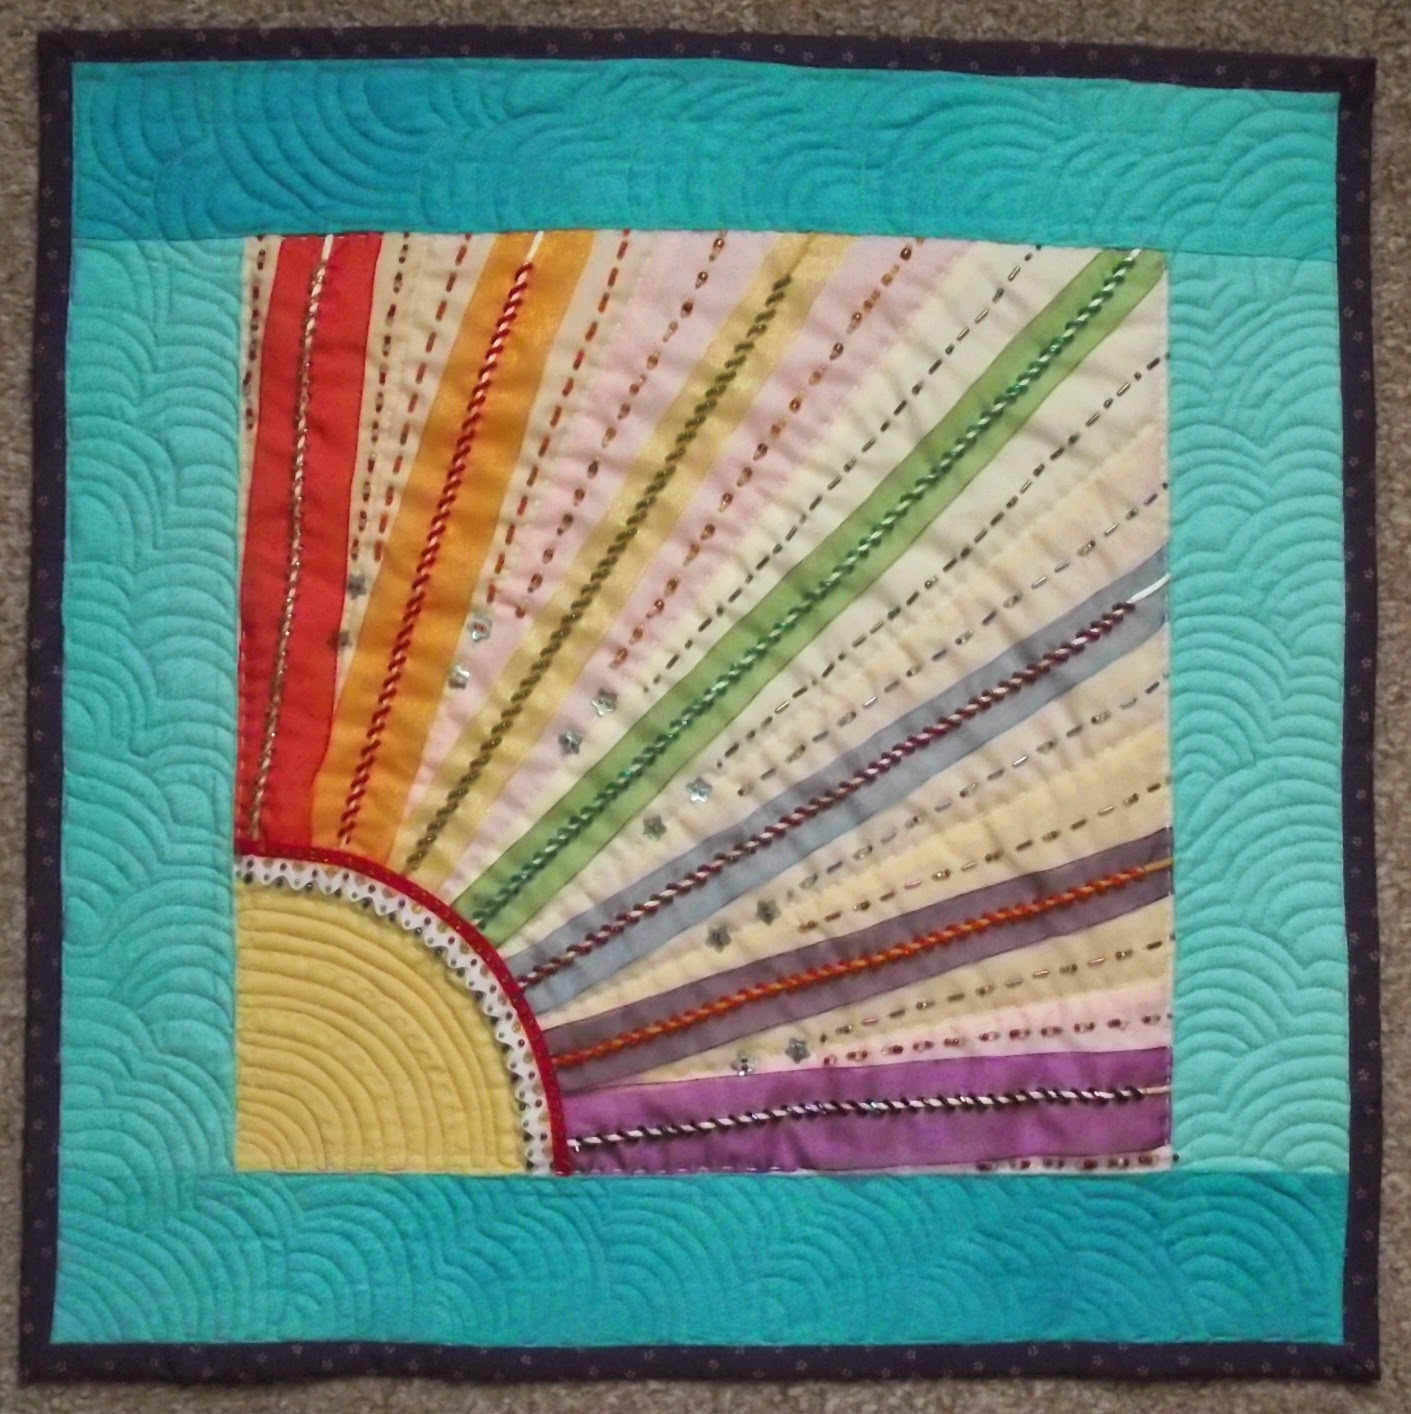
So rather than embark on anything new, I have plodded along a well-worn groove and finished another green cot quilt this week.  It is not much different from the last one, but I was able to photograph it in better light so the colours are a little truer.


The print on the binding is perhaps a bit too busy, but it will give a little baby something else to look at when playing spot the elephant.


This little rabbit dangling his teddy by the ear made me smile when I took the photos, especially as the rabbit's alarm clock was only about ten minutes out according to the kitchen clock which was right behind me.


The pink and grey-green design on cream tones in really well, and at this rate might soon be finally used up.  I've only had it 35 years or so. 


The free motion quilting is swirls - again - which went more quickly and easily than the last one. These cot quilts are all about stash busting and FMQ practice rolled into one, so a bit repetitive, but very satisfying.

blogbutton photo peacockfmq025_zpse5bceb10.jpg


Here goes for week 33...

Many thanks to Judy, JoanieGwyned, LynTeresa, and Angie for linking up last time.


If you love free motion quilting, whether you are a beginner just taking the plunge, or you have reached the stage where you can do ostrich feathers with your eyes shut and still achieve perfect symmetry, then please link up.

Remember, FMQ is FMQ, whether your machine was made last week, or it is older than your granny.

Here are the very easy and slightly elastic rules:-

1.  Link up with any recent post, ideally from the last week but within the last month, which features a free motion quilting project, whether it is a work in progress or a finish.

2.  Link back to this post in your own post and/or grab the linky button for your blog's sidebar.
  .
3.  Visit as many of the other participants as possible and say hello in the comments box.

4.  The link up will remain open for four days, from midnight to midnight GMT for the long weekend, Friday to Monday.

So far quilters from USA, England, Wales, Australia, Canada, Germany, Holland, New Zealand, France and Macau have taken part.  The first participant from each new country will get a special mention the following week.

Linking up with Kelly's blog My Quilt Infatuation for Needle and Thread Thursday
and Sarah's blog Confessions of a Fabric Addict for Whoop Whoop Friday
and Richard and Tanya Quilts for Link A Finish Friday
and Michelle's Romantic Tangle for Let's Make Baby Quilts
and Angie's blog A Quilting Reader's Garden for WIPs Be Gone


Sunday 22 February 2015

A Pretty Picture for Sunday - Inside Looking Out


I took a trip to visit my brother in Surrey this week, and we had an outing on Wednesday. Next Sunday's picture will be of the outside...

Thursday 19 February 2015

Free Motion Mavericks - Week 32 - Rainbow Sunray


This is a refinish rather than a finish.  I made this sunray wall hanging three years ago, before I had plunged headlong into the joys of free motion quilting, and quilted it rather badly by hand.


Very badly, in fact.  Just for old times' sake, I left in the big bad hand quilting on the yellow sun.


On the turquoise border I did a pattern intended to look like billowing clouds.  I left the hand stitching in and machine quilted over it.  It was easy to unpick afterwards because it was just three lines of running stitch.  Doing free motion quilting in the border of a quilt that was already bound was a bit hair raising at times.  Even worse was snagging the beads a couple of times with the hopping foot. 


The sunrays are made of gauze ribbon, with a length of cord down the centre with beads worked over it.


I had loads of tiny beads, so it was a good way to add a bit of sparkle.


There were lots of different colours and sizes to choose from...


... and I came nowhere near using them all up.


These beads were strategically placed to cover messy bumpy bits where the ends of the cords were hidden under the seam.

This quilt drove me slightly nuts when I was making it, and irritated me no end when it was hanging on the sewing room wall because the quilting was so atrocious.  On Sunday I did the free motion quilting and now I'm pleased to see it looks much better after its second finish than it did after its first.  To celebrate its new lease of life it is now going to hang on the wall in my daughter's bedroom.

blogbutton photo peacockfmq025_zpse5bceb10.jpg


Here goes for week 32...

Firstly, a special mention for Quilt Musings, who linked up last week and earlier weeks, who is the first person to link up from Macau!

Also, many thanks to Carole, Hilary, JudyGwyned, Teresa, Angie, Doraand Linda for linking up last time.

If you love free motion quilting, whether you are a beginner just taking the plunge, or you have reached the stage where you can do ostrich feathers with your eyes shut and still achieve perfect symmetry, then please link up.

Remember, FMQ is FMQ, whether your machine was made last week, or it is older than your granny.

Here are the very easy and slightly elastic rules:-

1.  Link up with any recent post, ideally from the last week but within the last month, which features a free motion quilting project, whether it is a work in progress or a finish.

2.  Link back to this post in your own post and/or grab the linky button for your blog's sidebar.
  .
3.  Visit as many of the other participants as possible and say hello in the comments box.

4.  The link up will remain open for four days, from midnight to midnight GMT for the long weekend, Friday to Monday.

So far quilters from USA, England, Wales, Australia, Canada, Germany, Holland, New Zealand, France and Macau have taken part.  The first participant from each new country will get a special mention the following week.

Linking up with Kelly's blog My Quilt Infatuation for Needle and Thread Thursday
and Sarah's blog Confessions of a Fabric Addict for Whoop Whoop Friday
and Amanda Jean's blog Crazy Mom Quilts for Finish It Up Friday


Wednesday 18 February 2015

How to Use the Mystery Buttonholer


A sample buttonhole which took only 30 seconds to stitch...


... using the wonderful mystery buttonholer, which I bought from a charity shop a couple of years ago.  


It has five cams (or are they half cams?), each marked with the size of button they are for, ranging from three to seven eighths of an inch, and including two cams for round ended buttonholes.  The other half is permanently set inside the buttonholer.

This marvellous gadget has turned out to be one of my best purchases ever.  It sews excellent buttonholes, it is easy to use, and I prefer it to my other vintage buttonholer, which is a Greist.  

Last year I posted a video showing the buttonholer in action.  In this post I shall show how to use it. 


This is the front of the buttonholer, showing the lever which fits over the screw of the needle clamp. When the needle moves up and down, so does the lever, thus operating the mechanism.  

At the centre of the photo is the hole for the fixing screw. 


The fixing screw attaches the buttonholer to the presser bar of the machine in place of the regular presser foot.


The red knob on the top overrides the lever mechanism.  When it is turned clockwise you can adjust the position of the parts shown below.


The prong protruding at the front remains static, whereas the metal piece underneath moves as the buttonhole is being sewn.  

In this photograph the lower piece is as far back as possible, and this is the position it needs to be in when inserting or removing a cam.


The cam fits into the back of the buttonholer.  You just push it in, and it clicks into place.


Once the cam is in, turn the red knob so that the lower part comes forward.  It has two arms, with little lugs on the side.


Now you can attach the rectangular plastic attachment...


... by fitting it over the little lugs.


Now it is time to get the machine ready.  This is my Singer 201K treadle.  I have lowered the feed dogs, removed the foot and its fixing screw, and threaded the machine top and bottom.


To attach the buttonholer to the machine, slide it into place from the back so that the end of the lever fits over the screw of the needle clamp...


... and then insert the fixing screw through to the presser bar and tighten it. 


The red knob needs to be turned again so that the plastic rectangle is pulled back as far as possible, as shown in this photo.

If you look at the reflections in the needle plate, you can see that the underneath of the plastic has rows of tiny sharp pyramid shapes, designed to grip the fabric.


The material is now in position, and the presser bar lever is down, ready for the buttonhole to be stitched.  I have brought the tails of the top and bottom threads forward so they don't get tangled up in the stitching.  Usually I just keep hold of them while I am stitching, but this time I made sure that the top thread was held down underneath the plastic rectangle because my hands weren't going to be free...


... because they were holding the camera!  

Watch how this wonderful contraption works - half a minute of pure magic.  The fabric is moved from side to side to give the zigzag stitch, and also backwards and forwards around the whole buttonhole.  I always go round twice to get a nice firm layer of stitching.

Making the video was a bit of a circus trick - feet treadling, both hands firmly holding the camera, and eyes watching the action through the camera.  It took three attempts.  On the first go I was holding the camera too low and the machine (or was it the buttonholer?) bumped it upwards with the first stitch.  The next time I tried I didn't press the shutter hard enough and didn't catch the beginning of the action.  Thrills and spills.


Finally, time to put the buttonholer away, and put this nifty metal tab to use.  First, make sure to turn the red knob to get the mechanism in the right position for removing the cam (see text in bold and photo above).  Also, make sure the tab is the right way up, with the little metal flap facing upwards.


Slide the tab into the back of the buttonholer under the cam...


... as far as it will go, and the little flap will click into a notch on the underneath of the cam...


... so you can pull it out.

The next bit of excitement will be to do samples of buttonholes with each cam, which will be very handy to refer to rather than doing a fresh test for every project.  Also, it will be great way of using this very photogenic cheerful turquoise cotton, which is otherwise useless because the dye runs like water. I am so glad I didn't chuck it out. 

Linking up with Connie's blog Freemotion by the River for Linky Tuesday

Sunday 15 February 2015

A Pretty Picture for Sunday - Celtic Cross


A 19th century gravestone in this churchyard.

Welcome to three new followers today; pps6996, Cindy and Teresa Duryea Wong. Thank you for joining!

Thursday 12 February 2015

Free Motion Mavericks - Week 31 - Two Finished Samplers


Two quick finishes this week - the binding and hanging sleeves are now on two A4 thread samplers. The pink and soft purple shades of the candles have been brought to life with binding the colour of raspberry blancmange...


... and the third of the leaf samplers is now bound in a very sensible shade of school uniform dark green.


blogbutton photo peacockfmq025_zpse5bceb10.jpg


Here goes for week 31...

Firstly, many thanks to Cynthia,  Marly,  Hilary,  Gwyned,  Quilt Musings,  Leanne and  Quilting Reader's Garden for linking up last time.

If you love free motion quilting, whether you are a beginner just taking the plunge, or you have reached the stage where you can do ostrich feathers with your eyes shut and still achieve perfect symmetry, then please link up.

Remember, FMQ is FMQ, whether your machine was made last week, or it is older than your granny.

Here are the very easy and slightly elastic rules:-

1.  Link up with any recent post, ideally from the last week but within the last month, which features a free motion quilting project, whether it is a work in progress or a finish.

2.  Link back to this post in your own post and/or grab the linky button for your blog's sidebar.
  .
3.  Visit as many of the other participants as possible and say hello in the comments box.

4.  The link up will remain open for four days, from midnight to midnight GMT for the long weekend, Friday to Monday.

So far quilters from USA, England, Wales, Australia, Canada, Germany, Holland, New Zealand and France have taken part.  The first participant from each new country will get a special mention the following week.

Linking up with Kelly's blog My Quilt Infatuation for Needle and Thread Thursday
and Sarah's blog Confessions of a Fabric Addict for Whoop Whoop Friday 
and Amanda Jean's blog Crazy Mom Quilts for Finish It Up Friday.


Sunday 8 February 2015

A Pretty Picture for Sunday - Blue Daisies


One of the delights of a walk in the fields, spotting the shards of old crockery poking up out of the soil.  And - this is a first - a Sunday picture that I have taken today!

Saturday 7 February 2015

Maintenance and a Moral Tale


It was high time I lavished a bit of tender loving care on my stalwart 1945 15K treadle, which serves me so well for all my free motion quilting.  The last time couple of times I have used it I haven't been sure whether it has been me feeling a bit slow and creaky, or the machine. Probably a bit of both. 

The first job was to remove the faceplate to clean out a great accumulation of fluff, and tip the machine back and clean out the fluff from underneath.

Next, I oiled it at the various points shown in these photos of my 1949 Singer 15K hand machine.  I made sure that I had removed the foot, because oil seeps down the presser bar and can take a while to clean off the foot.  I could have removed the needle and needle clamp too, but I wasn't feeling particularly organised and methodical.  I also oiled underneath the machine.

Once oiled, I gave it a quick spin, and then left it for a couple of days with strategically placed tissues under the wheel and round the needlebar and presser bar to catch and absorb excess oil. 


All the old manuals recommend that after oiling a machine should be run hard, so the oil is well distributed.  So yesterday I gave it a fast and furious spin - terrific fun with the face plate off so you can marvel at the movement.  A table lamp was trained on the machine, the camera was resting on top of a tin, I had my finger on the shutter, and I was sitting at completely the wrong angle for treadling.  I rather chuffed with myself that I managed to get a mini video done.

And here is one I made earlier...


While making this video the machine made a big bang, which sounds less than half as loud on video as it did in real life.  I jumped out of my skin.  For a split second I thought I had broken the needle.  Then I realised that the presser bar had sprung itself down as a result of the vibrations and I had managed to record it on camera.

Moral of the story - run the machine hard with the foot off and presser bar down.  Better for the machine, and for owners of a nervous disposition.

Linking up with Connie's blog Freemotion by the River for Linky Tuesday

Thursday 5 February 2015

Free Motion Mavericks - Week 30 - A Green Cot Quilt


Here it is, the latest stash busting cot quilt, this time in green.  Thanks having to take indoors photos on dreary grey days, the camera can't cope with the lovely subtle shades of green, so the photos turned out sludgy grey too.  I have spent ages adjusting the colours on the computer to get them as close to the real thing as possible.  The colours on the close ups are more accurate.


Even though  was avoiding pink, I couldn't resist using this gorgeous print with peachy pink and yellow flowers on a soft green background.


Two fabrics in particular bring the whole colour scheme to life.  Firstly, this golden yellow flower print with bright green leaves, which I have had stashed since some time in the late 1970s.  I can't remember who gave it to me, but it was probably a few years old by then.


Secondly, this vibrant russet brown, which was sent from the USA by one of my doll quilt swap partners.


The border print is the jolly nursery print of toys hanging out their washing, the muted green version of the pink print I have used on previous cot quilts.


There is another sweet nursery print in the top, which gave an entertaining detail.  This little dog had his head sliced by a seam and ended up with a headdress (or is it a hairdo?) made from half a daisy in the adjacent print.


The quilting is an all over swirly pattern, just like the last quilt.  This time I worked the lines of swirls down the quilt, rather than across, because it looked better crossing the strips of colour on the front rather than running parallel.  I thought it would be a quicker and easier job than the last time, but it wasn't.  Even though it was easier to see where I was going, because the colour were much easier on the eye,  I slightly scuppered myself by not checking my needle first.  Once I had done about three quarters of the quilting I realised the reason that occasionally stitches were being skipped as I quilted across seams, was that the needle was getting blunt.  Then it dawned on me that I was hearing that thunk thunk noise (which, perversely, I rather like) every time I went over a seam - a sure sign that the needle isn't as sharp as it should be.  

blogbutton photo peacockfmq025_zpse5bceb10.jpg


Here goes for week 30...

Many thanks to Carole, MaartjeGwynedHilaryDeanna and Alison for linking up last time.  

If you love free motion quilting, whether you are a beginner just taking the plunge, or you have reached the stage where you can do ostrich feathers with your eyes shut and still achieve perfect symmetry, then please link up.

Remember, FMQ is FMQ, whether your machine was made last week, or it is older than your granny.

Here are the very easy and slightly elastic rules:-

1.  Link up with any recent post, ideally from the last week but within the last month, which features a free motion quilting project, whether it is a work in progress or a finish.

2.  Link back to this post in your own post and/or grab the linky button for your blog's sidebar.
  .
3.  Visit as many of the other participants as possible and say hello in the comments box.

4.  The link up will remain open for four days, from midnight to midnight GMT for the long weekend, Friday to Monday.

So far quilters from USA, England, Wales, Australia, Canada, Germany, Holland, New Zealand and France have taken part.  The first participant from each new country will get a special mention the following week.

Welcome to Connie, the latest follower - thank you for joining!

Linking up with Kelly's blog My Quilt Infatuation for Needle and Thread Thursday
and Sarah's blog Confessions of a Fabric Addict for Whoop Whoop Friday
and Amanda Jean's blog Crazy Mom Quilts for Finish It Up Friday

LinkWithin

Related Posts Plugin for WordPress, Blogger...