This is the quilt I made for Liz. These butterflies have had a long flight and have now arrived safely in Oregon.
The theme for the February on the Doll Quilters' Swap was "Something I Love". There are few things I love more than watching butterflies on a buddleia bush - the colours, the movement, the scent of the flowers - so I did my best to turn it into appliqué.
The butterflies are decorated with beads to give them a bit of a sparkle.
This big yellow one is based on the shape of a brimstone.
The butterfly on the flower has machine stitched legs. I decided that doing his tongue sticking down into a flower would be just a touch too much, but I can't help imagining it. The little purple pearl buttons were ordered specially for this project and came in the post from Hong Kong.
The free motion quilting was done on the 15K treadle, and all the rest of the machine stitching was done with the 1927 Singer 99K hand machine. All the coloured fabrics are shot cotton from Oakshott - as always, the perfect colours for what I had in mind.
Now I have to get on with the little quilt I am making for my partner in Tennessee...

This is a picture taken last September. These soft pink stamens were giving off clouds of pollen. Good job I don't get hay fever.
Welcome to the latest follower, Catherine Couvreur. Thank you for joining!
This beautiful little doll quilt arrived in the post yesterday from Liz in Oregon, my February partner on the Doll Quilters Monthly swap. It is so pretty! I love the traditional pieced designs, and Liz has used a lovely combination of colours. It measures 14 and a half inches square and is so neat and crisp.
I particularly like the pink material with the vine leaves design - it is interesting yet unobtrusive.
Today I have had a message from Liz that she has just received mine to her. She and I and the post offices have all been working to the same timetable.
Thank you for being my partner Liz!
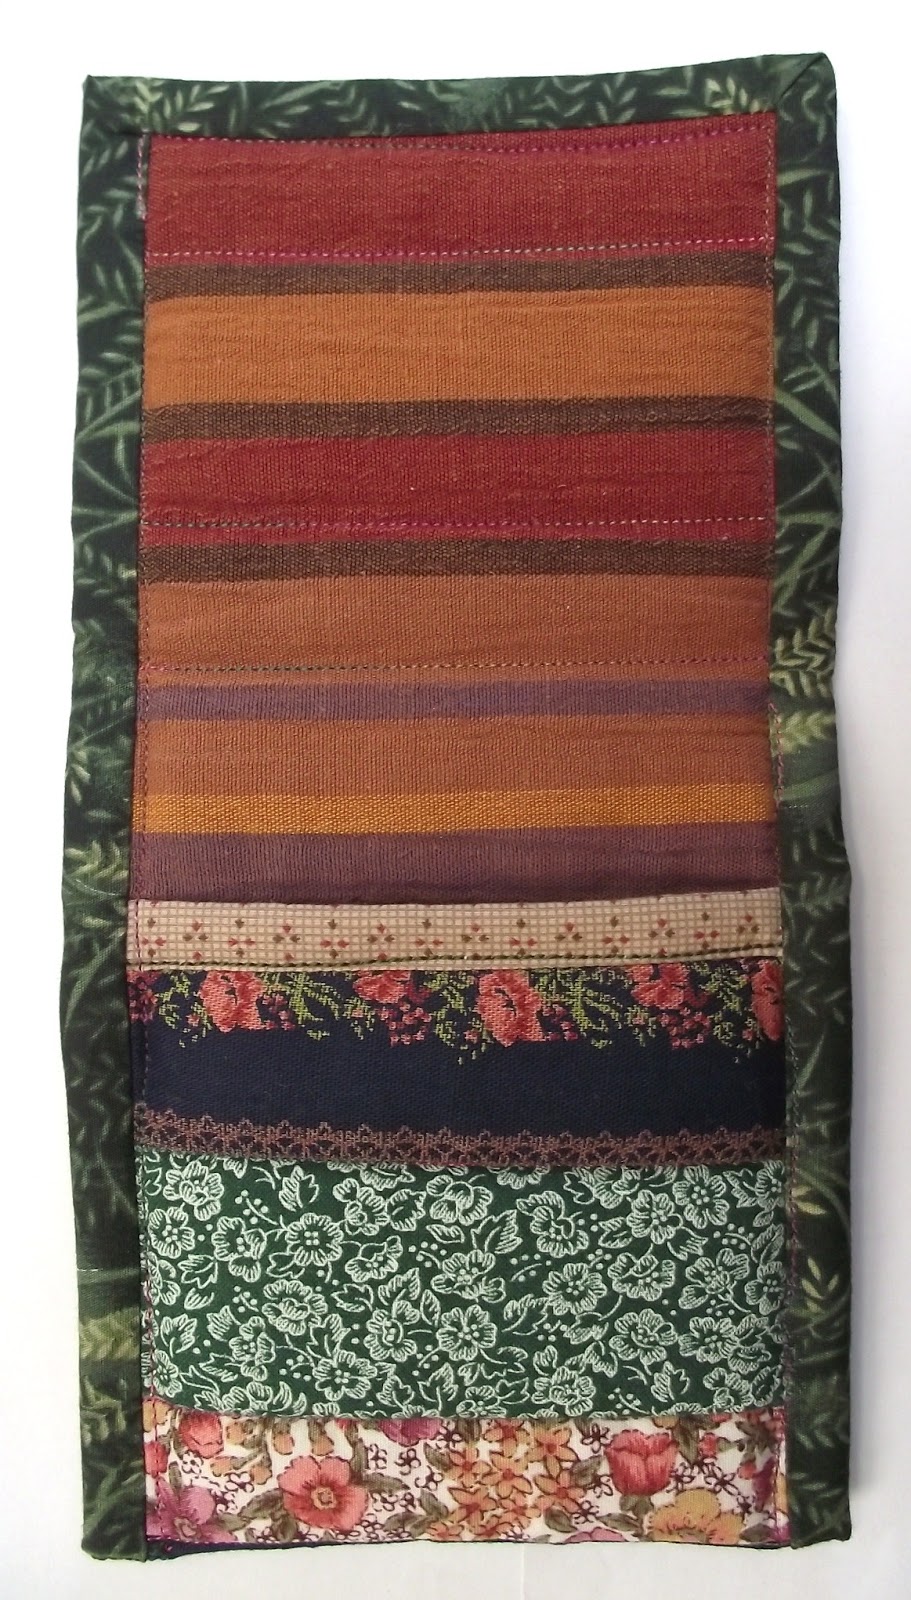
This is the second piece of quilting, now transformed into a mobile phone cosy. This is the slightly more sophisticated version, fastened with a button and loop.
I sewed on the button before doing the side seams - it would have been tricky getting the needle through to the inside otherwise.
The loop is sewn firmly in place with a rectangle of machine stitching with crossing diagonals.
Here are the two finished cosies side by side. Although they are made from the same quilted rectangle, the effect is different because I used them the opposite way round, so each one has a different part showing on top for the flap.
My daughter's verdict is that they are a bit wide and square shaped. So what, said I. It all depends on the size of the mobile phone. This one has room for her mobile phone and lipstick.
This post is linked to Barbara's blog at Cat Patches so you can see projects lots of other people have started in March... plenty of inspiration there!

Bind across one end of the quilted piece. This is the end that will be hidden under the flap. I used an odd end of binding left over from an old project.
Fold the cosy over and sew the two side seams. With the mobile phone inside it you can see that there is a generous sized flap to fold over, Also you can see the material I used for the inside. Not particularly attractive, but it will rarely be seen.
Before putting on the binding, trim with the rotary cutter down each side to give a clean straight edge.
Now the first line of stitching for binding is done, with the top two corners mitred. At the bottom left I had a selvedge edge at the beginning of the binding; at the bottom right I had to fold in the raw edge.
This shows the binding with the second line of stitching finished. There is a piece of black elastic going across the back, with each end held in place under the binding. It might be difficult to spot, because is goes across the navy strip below the broad green strip.
Here is the view of the other side...
... and with the flap folded over...
... and of the back.
The elastic can be pulled over to the front when the phone is inside to keep the flap down. The other option is to sew on a button and make a loop to fasten over it. Perhaps I will do that with the second one.
This is the first project using the 1949 Singer 15K hand machine that I have recently cleaned up.
Mobile phone cosies are so easy to make, so I will show you the method.
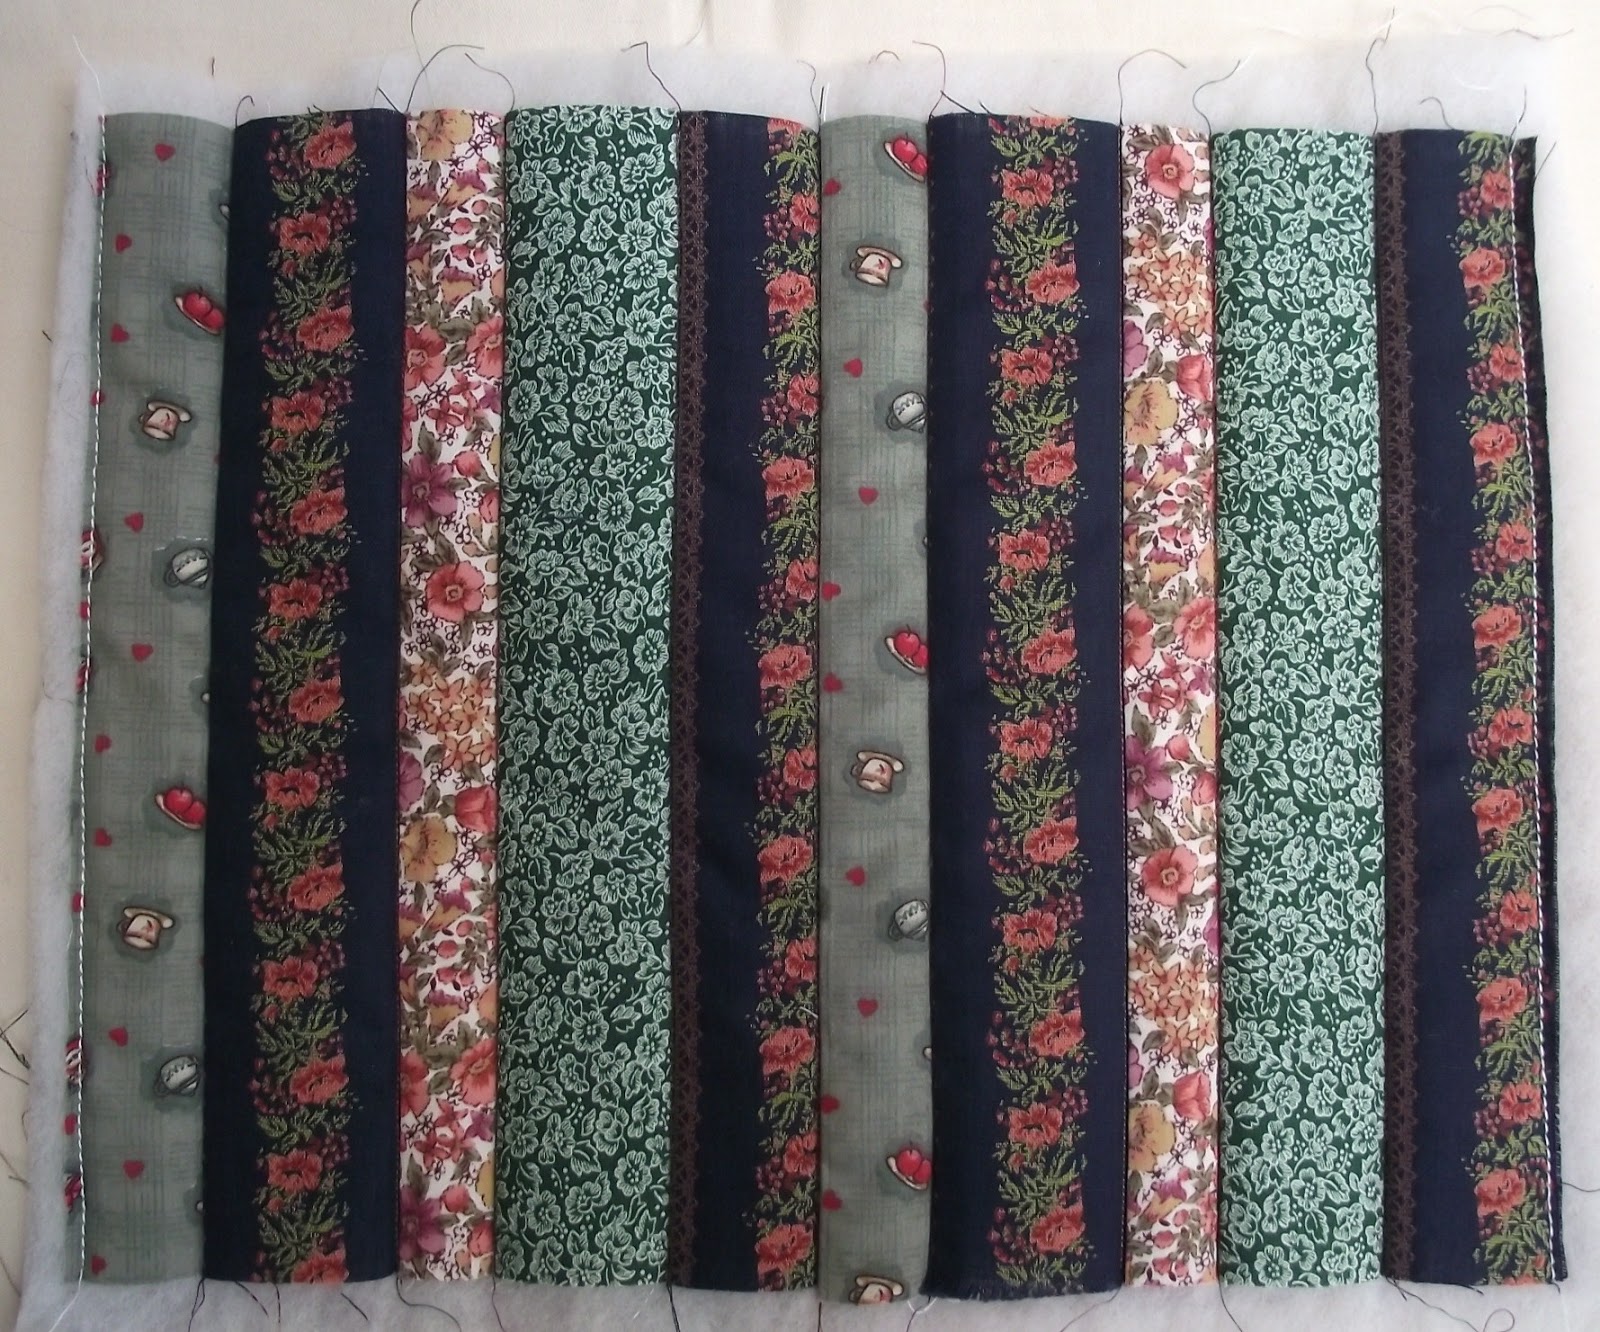
First, I raided my jar of scraps and found a few strips, which I have sewn together to make a small panel.
I used a seam guide to keep the seams straight and even, and ironed the seam allowances to one side, all in the same direction.
I haven't been fussy about measuring it because a sheet of A4 size paper will give you the approximate measurements you need. Here is a sheet of A4 laid over the panel, showing that there is a little extra all round.
Next, make the quilt sandwich. Here it is, held in place with a few safety pins.
Straight line quilting along the seam lines is the quickest and easiest method. This isn't a fancy project.
A line of machine stitching at each end will make it easier to put the binding on later.
Next, use the rotary cutter to square off the quilted panel into a neat rectangle.
Finally, cut the panel in half lengthways. Each strip is approximately four and a half inches wide.
This way you will end up with two mobile phone cosies. If you make one, you can be sure somebody else will want one, so I've decided to save time and just make two in the first place.
It comes in a handy little tin from the music shop and costs less than three quid.
It looks like barley sugar but tastes nothing like it. I know. I tried it when I was little.
If it stops violin bows sliding across the strings when they get greasy, it can do much the same for leather belts when they slip on treadle wheels.
The 201K treadle was a bit sluggish. The machine was well oiled and turning well, and so was the treadle wheel. The problem was the belt. I was assuming it was too slack because it had stretched with age, but it didn't seem any great deal slacker than the belt on the 15K, which goes like the clappers.
I knew if I tried to shorten the belt I would probably end up needing a new one anyway, so I tried the easy option. I gave the treadle wheel a thorough wiping, to make sure there was no oil in the groove, and then ran the wheel with the rosin scraping on the rims of the groove. The rosin dust has made all the difference. The treadle belt is now gripping, and I can run the machine fast enough for the needle to become a blur, which I just couldn't do beforehand.
Helen Howes has a good page of advice about treadle belts on her website. It is well worth reading.