Work has started on panels to go around the border of the bedspread I am making for my daughter. I have chosen darker colours in similar style prints. These strawberries go well with the other strawberry prints.
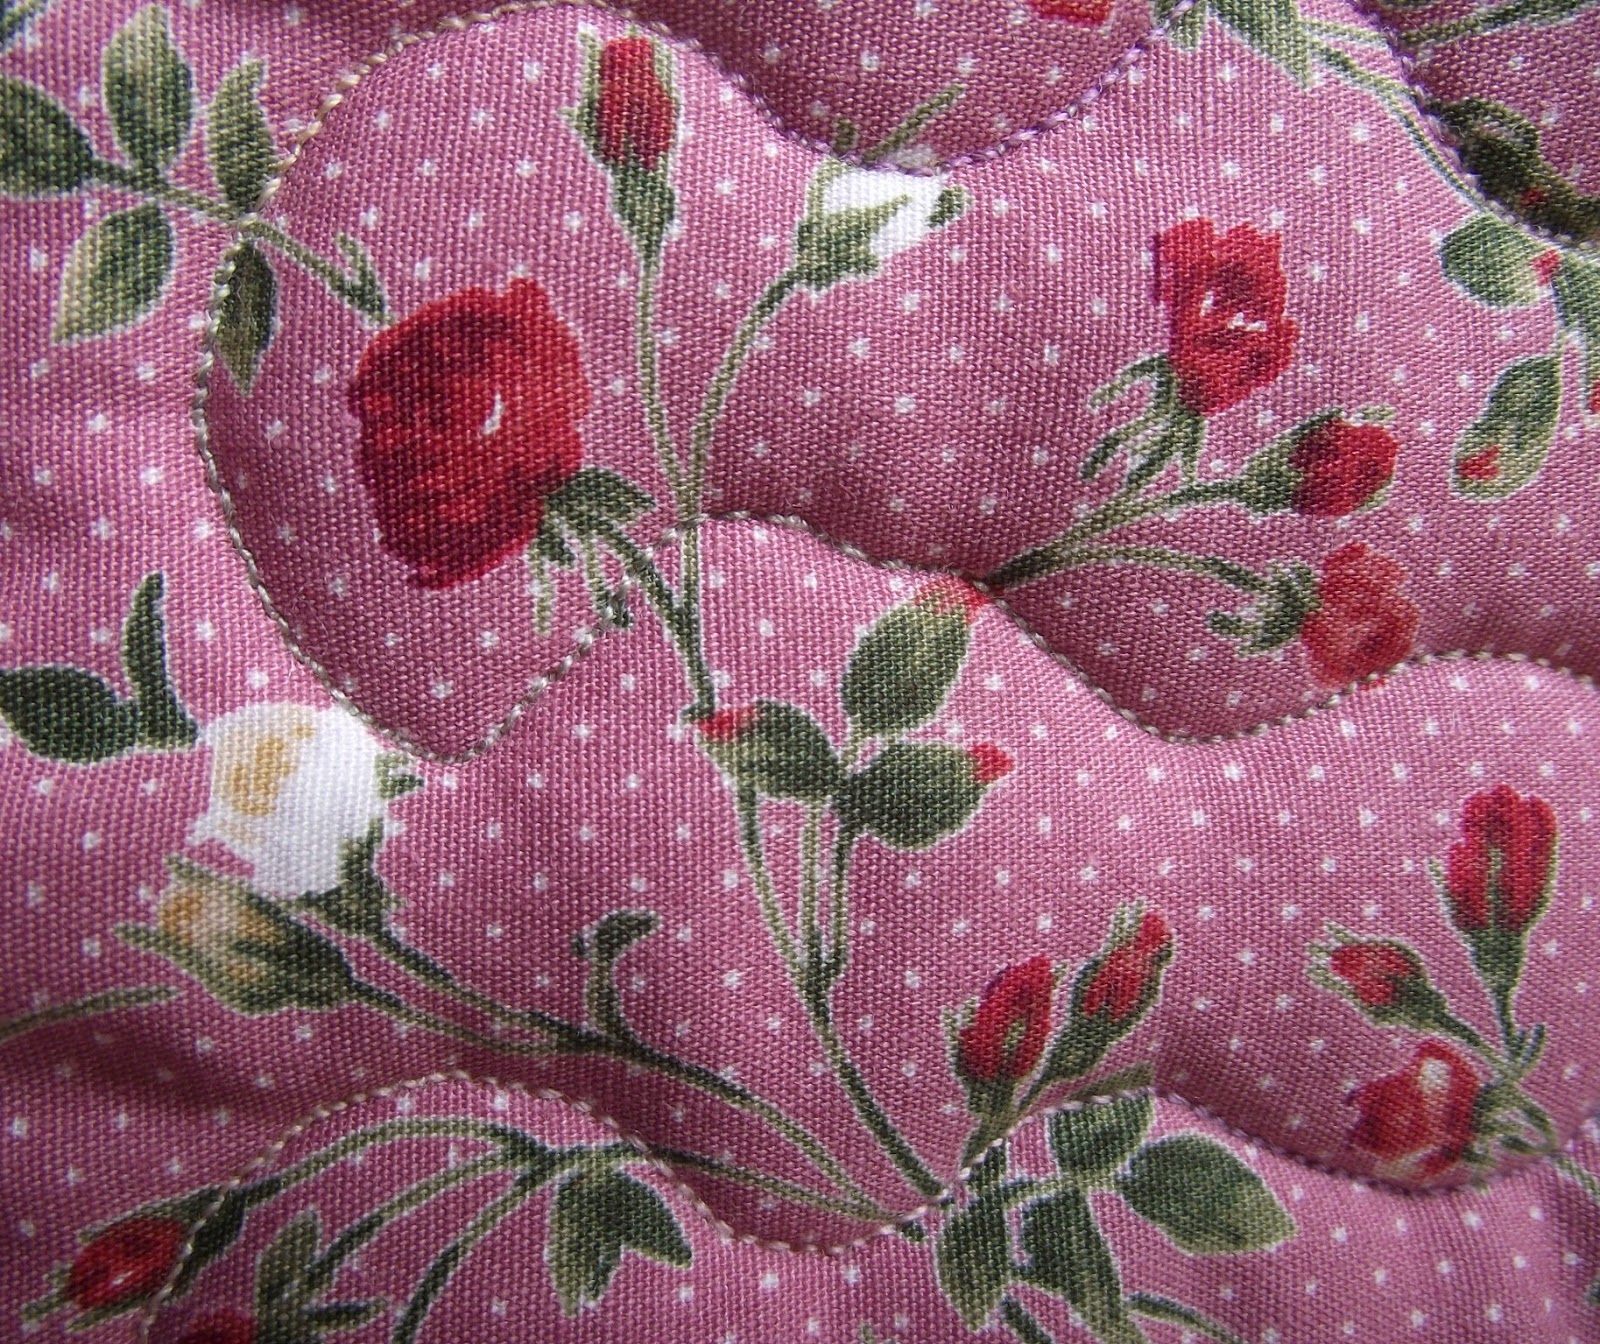
This rose design is lovely, but it took me a while to get used to the shade of pink. It stops just short of being sludgy.
The backing is yellow because I have run out of pink, and I have enjoyed doing this pattern with the free motion quilting.
Unpicking this folded over corner wasn't such a marvellous experience, but I thought I would turn it into an exercise in serenity. It didn't take half as long as I thought it might, which is just as well...
This post is being linked to Leah Day's blog for Free Motion Friday - plenty there for you to see!
Suddenly (I hardly dare say this in case I jinx it) the weather is glorious. Months and months of cloud have given way to a few days of clear skies, which means it is the ideal weather for making videos. I spent a large chunk of yesterday dragging machines into the kitchen to make a visual guide on setting and threading the needle the right way. It's all about making sure that the needle makes the loop in the right place, which depends on the stitch-making mechanism. With long bobbin machines the shuttle has to pass though the loop: with round bobbin machines the loop is picked up by a hook and taken around the bobbin.
I also have to take advantage of this weather by catching up on over a year's neglect of the allotment, waging war on dandelions, nettles, brambles, bindweed and couch grass. If you spot grubby fingernails on videos, you will know why.
Last night I tipped back the 201K treadle to drop the feed dogs. This is the only machine I have on which I can do this. This screw is at the front underneath the machine. It took me a good five minutes to turn it because of the sticky oil deposit gumming it up. This is the only part of this machine that had this problem, so I can only assume that the previous owner or owners were not keen feed dog droppers. This screw is now wrapped up in a fat scarf of cotton wool soaked in paraffin to get the sticky muck off.
The lever in the foreground has been moved down so that the screw now goes into the upper hole. When I want to raise the feed dogs again all I need to do is loosen the screw, push the lever up and tighten it up again with the screw going into the lower hole. I am going to see if I can get better results from the buttonholer with the feed dogs dropped - I hope I can. Welcome to ecbrowley, the latest follower. Thank you for joining!
After putting up the illustrations showing how to do rouleau straps, I decided I needed to try out the method. It is wonderfully easy. Sewing alongside the cord keeps the stitching straight and the width of the strap even.
You only need to do three or four stitches through the cord at the end to keep it secure. The trickiest part is turning the end inside out to start pulling it through. I was using cotton poplin, but it would have been easier with a finer material, for instance a cotton lawn.
The latest Youtube video went up last night. It wasn't a particularly easy one to make - making my first ever rouleau straps kneeling on the floor, with the sewing machine on a low table and the camera on a low tripod in front of me so I had to reach round from either side of it and do my best not to knock the tripod. I suffer for my art. The reservation I have with these straps is that they might not take too much strain. This is why I showed two ways of pulling the strap the right way round. If the cord is left uncut you can leave it inside so you can have a reinforced strap. You would just have to make sure that if you are using cotton, both the fabric and the cord are pre-washed so they don't shrink at different rates once they are first washed after the work is finished. Welcome to Susan Owenby, the latest follower. Thank you for joining!
He was strutting along the pavement in Bath as if he owned the place. Well, he does. He's Lord of the Bins. Note for Sue Deere - corner of South Parade and Duke Street. Legs in the background are the crowd coming out of last week's match against Leicester.
I love these little half cams. But it is still a bit of a mystery. There is no clue as to who manufactured it or where. I got in touch with Helen Howes because she has a similar buttonholer on her website - it's the one in the brown tin, which looks like an earlier version of mine. She very kindly sent me a copy of the instructions. These confirmed what I suspected - no details of the manufacturer there either, otherwise Helen would have said who made it in the description of the item. Also I was pleased to see that I had been getting everything right when I had been trying it out the night before. Now I have to do some serious practising on some scrap material. I haven't tried it out again since cleaning and oiling it. Before I cleaned it the bight adjustment lever made no difference whatever position it was in, even though when I had the cover off I could see it was moving freely. It all remains to be seen...
Not a brilliant picture, I know. I slung the quilt over our bed and had to stand on the edge of the bed and hold the camera up to the ceiling and aim. Anyway, this is the progress so far. Twelve blocks are now all joined up, and it's not quite big enough, so I am going to have to quilt a few more pieces and add a wide border all round. I could be lazy and just bind it now, but there's nothing worse than a bed cover that lets in the draught at the sides.
Here's the back. Definitely not the pretty side, but the quilting shows up better. Not perfect quilting, but my daughter is the last person to care and she's looking forward to it. Linking up again today with Leah Day's Free motion Quilting blog. I hope you enjoy visiting the other blogs to see what people are up to!