This is the pattern for the blouse that I am making for Spring for Cotton. It is printed in the back of the Lutterloh book on a minute scale. These are the outlines for the back, front and sleeves. The images for the back and front are only one and five eighths of an inch from top to bottom. I thought that so long as I didn't read a 1 as a 7 everything would work out perfectly. It didn't. The measurement of 33.5 cm at the bottom left of the picture threw the whole pattern piece out of shape, so I ended up redrafting the front. It is a bit late to dash off a cross letter to Lutterloh about it. The pattern has an enormous dart down to the bust from the shoulder. Regrettably, I haven't got the figure for it, so I have done tucks instead. Also, the pattern as drafted came out too narrow in the back, so I had to add to the width of both the back and the front. No need for drastic measures this time.
Today I have done a bit of sewing and have finished the binding inside the armhole seams.
The process I followed was much the same as for Meg's dress, with tucks at the top of the sleeves.
The blouse is now beginning to take shape. The collar needs to go on next, then I can do the buttons and buttonholes, hem the sleeves and hem round the bottom. I'm not sure yet whether I will put in waist darts, I shall have to see how it fits once it fastens up. I know for sure that I shan't be bothering with a pocket...
... after all the serious effort I put in with the pattern matching. Manically meticulous, but worth it.
After enjoying myself so much last year making a 1940s blouse for the Sew for Victory Sew Along, I am now jumping into another vintage sewing challenge, Spring for Cotton. The rules are fairly simple - use a vintage pattern to make a garment in cotton, share photos on Flickr, and have the finished garment ready by 30th April. I have had a 1949 Lutterloh pattern book on my shelf for a couple of years now, and this challenge has galvanised me into action. It didn't take me long to decide on this blouse, then I watched this video.
Mr. Lutterloh makes it all look so easy. He also gives a couple of fleeting moments of comedy, which my husband and brother in law have enjoyed with me. After three evenings of work and running up a muslin, I now have my own pattern to make the blouse.
This cotton poplin print was stashed away in the cupboard. Today I have been Mrs. Mega-Meticulous and cut out the blouse, making sure the lines of tiny roses match for symmetry across both front and back. It took rather longer than ten minutes. To stay with the German theme, the plan is to make it on my 1937 Frister and Rossman transverse shuttle. It is a beautiful brute of a machine, weighing three quarters of a ton, so I have yet to haul it out of its cupboard. Sewing starts tomorrow. Linking up to Connie's blog Freemotion by the Riverfor Linky Tuesday
This is a Frister and Rossmann Transverse Shuttle machine - a slightly different model to the one I photographed when showing the first in the series of German bobbin winders.
This machine has a smaller balance wheel, a fancy spool pin and a different bobbin winder. The top of the bar is bent in a backwards curve at the top. The button for engaging the bobbin winder is at the bottom right.
Step 1 is the same. The thread has to pass between the tiny tension discs on the front inspection plate.
Next, the thread is taken over to the upright bar of the bobbin winder and through the hole at the top, passing from the top and then down the back of the bar.
The thread is passed down behind the bar and then brought out underneath it, reaching the bobbin from the back.
The metal plate beneath the bobbin has to be brought up into position so it is almost touching the bobbin. The plate is on a spring - press it down gently and it will spring itself up to the right position.
To engage the bobbin winder into position, so that the tyre touches the rim of the balance wheel, press this button...
... and push the bobbin winder back until the catch at the back holds the bobbin winder in place. This picture is taken from behind the machine looking down the back of the bobbin winder. The catch is at the bottom centre of the picture.
While the bobbin is being filled the metal plate will be gradually pushed downwards. If you want a full bobbin, wait until the plate automatically springs down away from the bobbin. If you want to stop sooner, press down gently on the plate...
... and the plate will spring down out of the way so you can remove your bobbin.
This is my Frister and Rossmann Transverse Shuttle machine set up to wind a bobbin. This type of bobbin winder is seen on many German machines. It winds a perfectly tight, even bobbin of thread, and works better than any Singer bobbin winder. It is a very simple mechanism.This is how it works:-
First, take the thread through the miniature tension discs on the front inspection plate. Not every machine with this type of bobbin winder has these tension discs, in which case either take the thread through the hook at the top of the face plate (top left in this photo), which is the first hook for the top thread, or through whichever other hook is provided there.
Next, take the thread to the top of the upright bar of the bobbin winder and thread it from the back to the front.
Put the bobbin in, securing the thread by trapping it between the end of the bobbin and the winder.
To engage the bobbin winder against the balance wheel, this machine has a lever at the bottom which is pushed up.
What happens next is pure magic. As you wind the bobbin, the thread passes over the curved edge of the plate on the bobbin winder, moving steadily and evenly from side to side.
When the thread reaches the other side and makes contact with the little pin at the end of the curved plate, it is gently nudged back and travels back the way it came. Pure genius.
When the bobbin is full it presses against the base of the upright lever, activates a spring, and automatically disengages the bobbin winder from contact against the balance wheel.
If you want to take the bobbin out earlier, just press the upright bar back gently with your finger and the bobbin winder will disengage. Nifty, or what? More German bobbin winders coming soon...
I made this quilt for my daughter. She likes pink and green. It is a single sized quilt laid out on a double bed to show the border. It was pieced on my Frister and Rossman Transverse shuttle - easy with the seam guide in place. The method for this pattern is shown by Bonnie Hunter on her website Quiltville under the heading Sister's Choice.
For the border I did my own thing, separate blocks of strips. Bonnie's instructions for borders involves laying the whole top out on the floor - completely impossible in a small house.
At the corners the strips cross over each other. Feast your eyes on the mismatched seam. Every quilt should have its imperfections - it's all part of the charm. It was long arm quilted by Midsomer Quilting, and because I was feeling particularly lazy they did the binding too. They did a perfect job.
It hadn't been used for a long time when I got it. It was a bit grimy and stiff, and over about a fortnight I cleaned it up. This is the machine that I learnt so much from. Once it was oiled and running it was an absolute joy to sew with.
Eventually I made the Youtube videos to show that with very basic equipment, anyone can clean up an old sewing machine - provided it isn't rusty or otherwise too far gone. You don't need a workshop and fancy tools. I do all my tinkering on the dining room table - well covered with old newspaper of course.
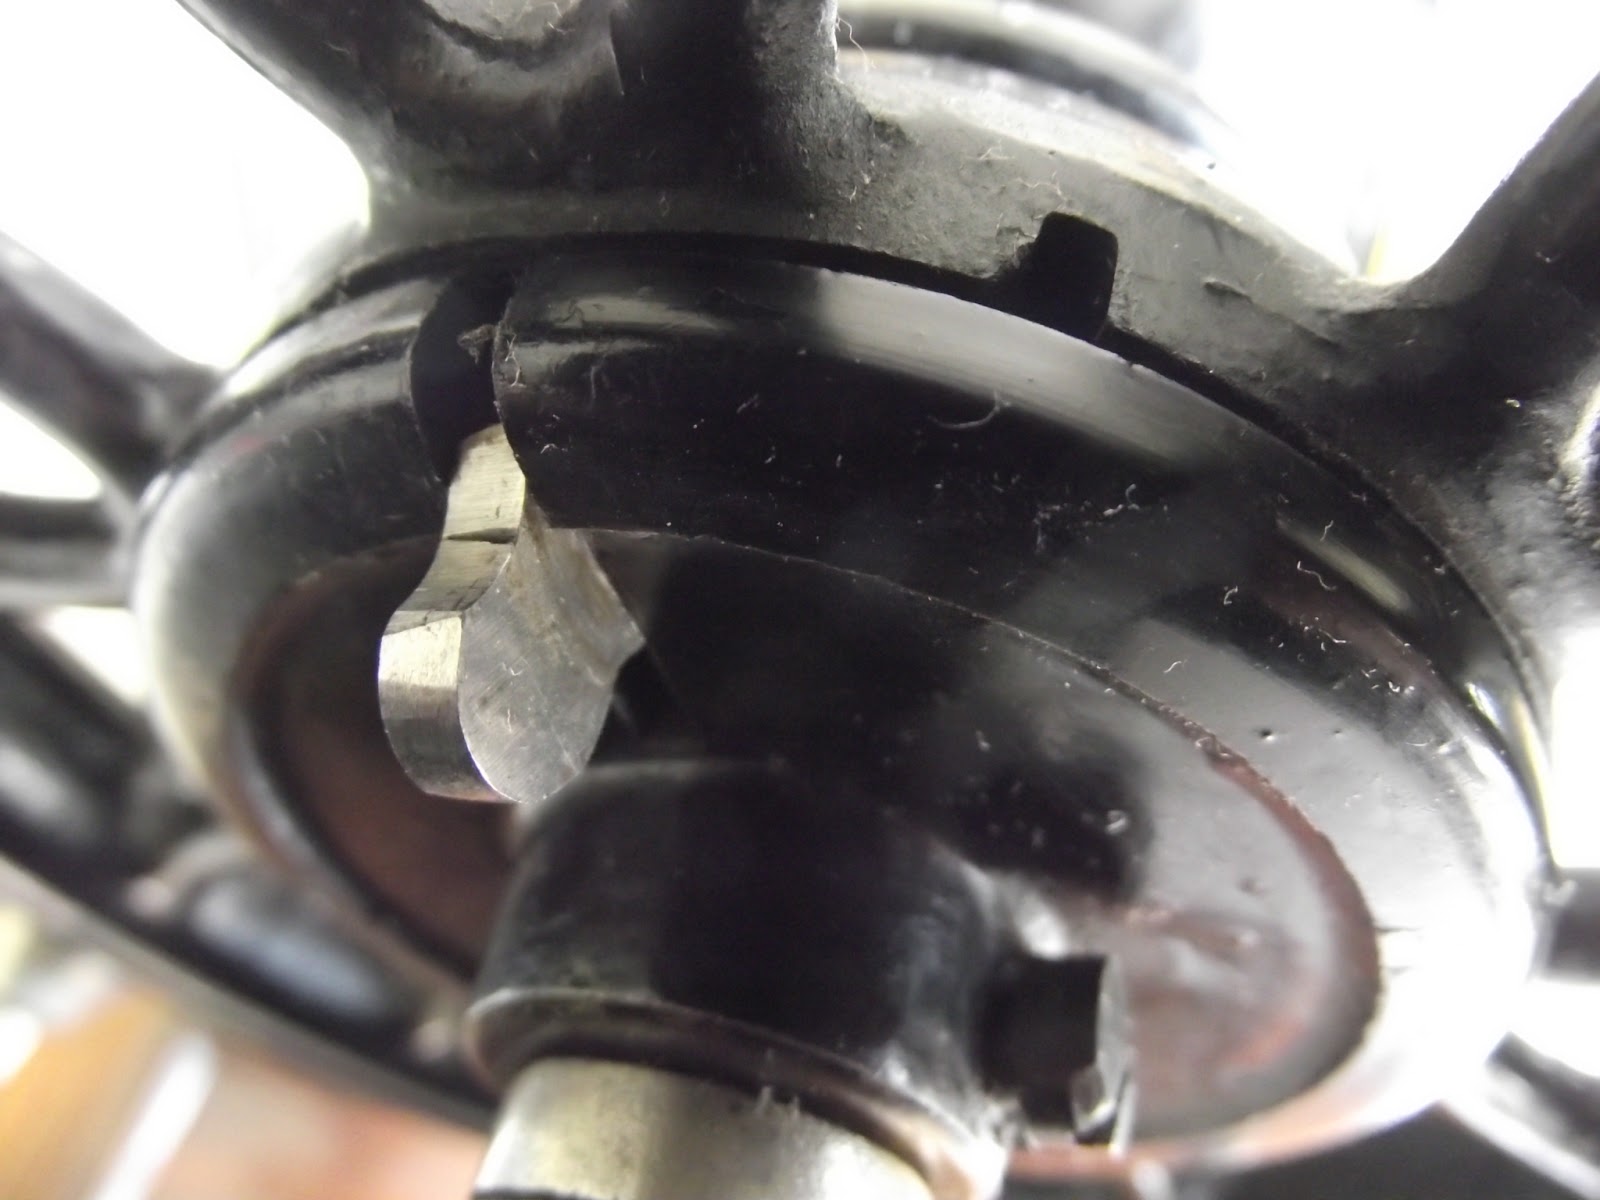
This is my Frister and Rossmann Model D Transverse Shuttle machine. There is no stop-motion screw, the round metal disc in the middle of the balance wheel, which you will see on many other machines - Singers in particular.
On this machine, the mechanism to disconnect the needle is wonderfully simple. It is just a metal tab that slots in and out of a notch. Perhaps one day I will find out why manufacturers abandoned this mechanism in favour of the stop-motion screw. I much prefer this tab, there is far less to go wrong with it. Stop motion screws can be blighters to fix.
This shuttle belongs to a 1930s Frister and Rossmann Transverse Shuttle machine. Viewed from this side it looks just like the shuttle for a vibrating shuttle machine.
However, the other side is flat, so it can fit in the narrow shuttle carriage. This type of shuttle is a hybrid shuttle. It fits into the same sized space as the open sided boat shuttle which was used on older TS machines, but the flat side is closed. Loading the bobbin and threading the shuttle is done in exactly the same way as with the bullet shaped shuttles for Vibrating Shuttle machines.
What is a doll quilt? Well, it is just a miniature quilt. Here is the first one I ever made, and you will recognise it as the project I had on the go when I did the demonstration video to show the use of the seam guide. Until I made one I never saw the point of making a miniature quilt. Perhaps I had been scarred by my experience in needlework classes at school, where we were expected to make a miniature skirt, complete with darts, zip, waistband, finished seams etc etc. What a complete waste of time, all that work on a fiddly scale on a skirt designed to fit someone 14 inches tall. Needless to say I did a total skive on that one. My time was fully occupied with a Spanish blackwork tablecloth, French verbs and drawing cross-sections of buttercups. Anyway, I had a whale of a time making this little quilt. The top was made in dress-weight cotton poplins on the Frister and Rossmann TS, and the quilting and binding was done on the 1927 Singer 99K hand machine. Once I had finished the binding I was pleased with the passable mitred corners, then looked again at the quilt and saw that all the black around the border made the middle look empty.
The solution was a bit of decoration in the middle, with black ribbon, tiny beads and pearl buttons. A bit of hand sewing saved the day.
The seam guide is a marvellous little gadget. I wish I had known about them earlier. My mum never had one, and they were unheard of at school, so I never tried one out until I started acquiring old sewing machines and finding extras in the compartments or drawers. Now I'm totally hooked. If you are doing patchwork and need to a quarter inch seam allowance, the seam guide is ideal. It is a lot more reliable than the method I used before, which was to stick a piece of white tape on the bed of the machine and run the material along the edge of the tape. The seam turned out fine, but getting the adhesive wiped off the machine afterwards was a bit of a bore. The machine is a 1937 (more or less) Frister and Rossmann transverse shuttle. It sews beautifully and weighs a ton. I love it.
All the machines I have shown so far have been Vibrating Shuttle machines, where the shuttle carriage is to the right of the needle and the shuttle moves back and forth in an arc. Singer patented their design for Vibrating Shuttles in 1886. Before then they had been manufacturing Transverse Shuttle machines.
These photographs are of a Frister and Rossmann Transverse Shuttle machine manufactured (probably) in the mid to late 1930s. German manufacturers continued making Transverse Shuttle machines until the outbreak of the Second World War, when most manufacturers switched over to the production of arms. The shuttle moves from side to side in a straight line behind the needle. It fits snugly into its little bed, as shown in the second photo where I have slid back the plate. The needle is threaded from front to back, whereas on a VS machine it is threaded from left to right. Different, but the same principle - in both cases you take the thread through the needle towards the shuttle. TS machines make an excellent stitch, equal to that of any VS machine, which no doubt explains why the Germans didn't stop making them until history so rudely intervened.