Ever versatile clothes pegs have come to my rescue in the past few days. I have assembled a large quilt using the Quilt As You Go method, making full use of pegs when attaching large heavy sections. I put pegs at the edge when doing the second line of stitching to the top binding, and for extra firmness put a line of curved safety pins a couple of inches in from the edge to keep the quilted panels from shifting.
Managing the weight of the work was then a whole lot easier when using the machine.
Later on, when all the panels were assembled and it was time to bind the quilt, I had about 24 feet of binding to contend with. Rather than have the binding dragging along the floor, fraying and wrapping itself around my feet, which is what I usually do, I decided to be sensible and use a peg to make a neat bundle. It was easy to keep the bundle on my lap and undo a couple of feet at a time as I needed it.
How ugly is that brown and cream stuff? I can't believe I have finally used it.
Finished today, a 12 x 12 inch quilt. Here is the back view, with the title.
Rather than do a label and a hanging strip separately, I like to combine them into one job. Here is the strip, a two and a half inch wide piece of calico, with the selvedge running along the lower edge. I have turned under the raw edges on the sides with a single fold and done three lines of machine stitching to prevent fraying. Two lines would probably do, but I am just making extra sure.
To mark the centre of the strip I have made a light crease, and the pin marks the centre of the top edge of the quilt.
Next, I place the seam guide on the machine right up against the side of the foot, and adjust the stitch length to its longest setting.
Then, lining up the crease with the pin, I sew the strip to the top edge of the quilt. To make sure the strip doesn't shift from position, I start from the centre and stitch one half in place first.
A long stitch is handy because it is quicker to do, and in effect it is just tacking the strip into place.
Now the quilt is turned over and stitched from the other side.
At each side there is plenty of room for the rod to emerge from under the strip, and the strip is well clear of the corners.
The raw edges are going to be covered with the binding. I have already started the binding - the pink stitching in this photo is the first line of stitching, which attaches the binding to the front of the quilt. I always do the binding entirely by machine.
Here is the method I use, and which I adapt slightly for densely quilted wall hangings - firstly, there is no need to stitch around the edge, because with dense quilting the edge is already firm and stable: secondly, I start by attaching the binding to the front, and then fold it to the back for the second line of stitching.
To reduce the bulk inside the binding, I trim the strip as near as possible to the machine tacking.
Then I turn the binding to the back and machine stitch it into place.
Before hand stitching the lower edge of the strip to the back of the quilt, I use hair grips to fold it up a fraction against the binding and hold it secure. This gives a little fullness to accommodate a rod without putting the front of the quilt out of shape.
Finally, if I need to add any more writing, I slide a fold of paper inside the strip just in case any permanent ink soaks into the quilt. Just think how disastrous it would be to wreck a quilt at this stage. No, it doesn't bear thinking about.
Over the past few weeks, having done two little quilts in quick succession, I have hit on a method for sewing on the binding, using the seam guide to keep it all straight and neat. The mitred corners have been particularly trouble-free. On the front the stitching sits close to the edge of the binding, and on the back...
... it is clear of the binding, running parallel to it.
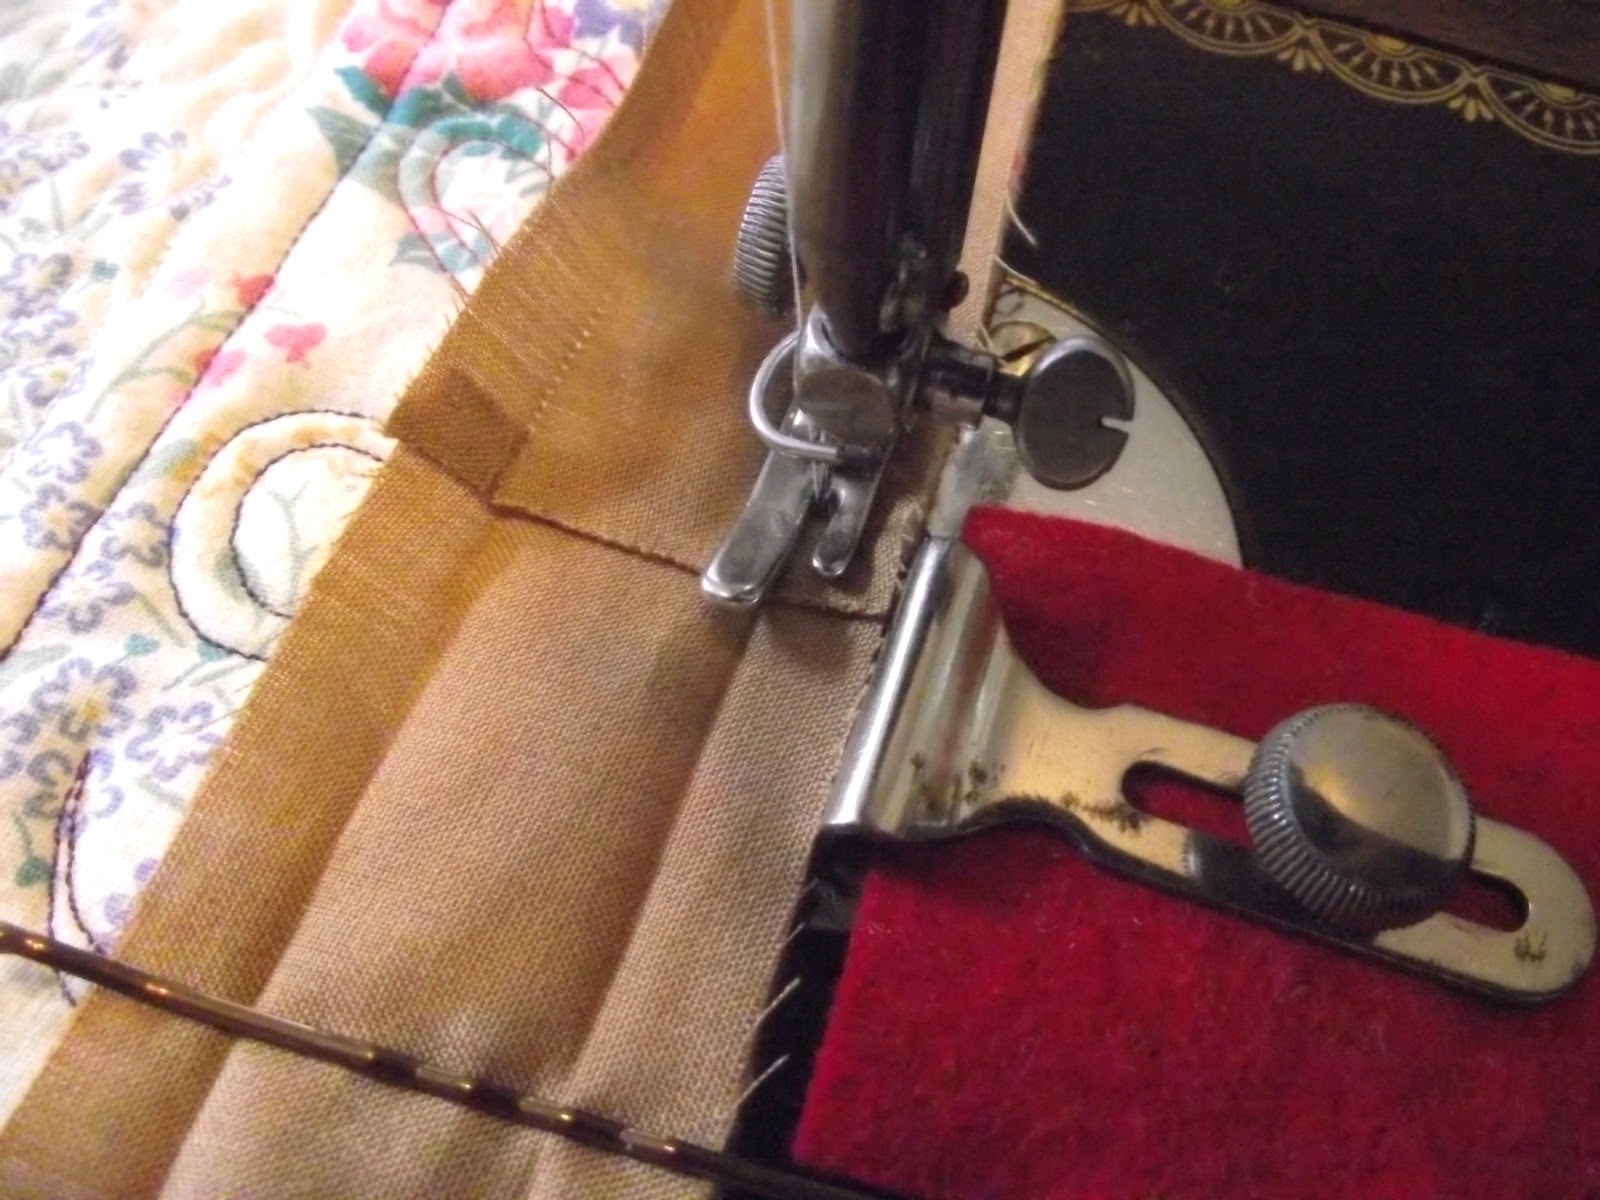
First, I stabilise the cut edge of the quilt with two lines of machine stitching. This makes the edge firm, so it lines up easily against the seam guide when attaching the binding, and if the quilting is widely spaced, it prevents the top layer from rumpling or pleating. It also keeps the corners nice and sharp, which makes mitring the corners easier
The seam guide keeps these first two lines of stitching straight. It has to be placed as far over to the left as possible, so it is right up against the side of the foot.
This places the needle approximately an eighth of an inch from the edge. Once the first line of stitching has gone all the way round the quilt, I remove the seam guide and put a second line of stitching between the first line and the edge of the quilt.
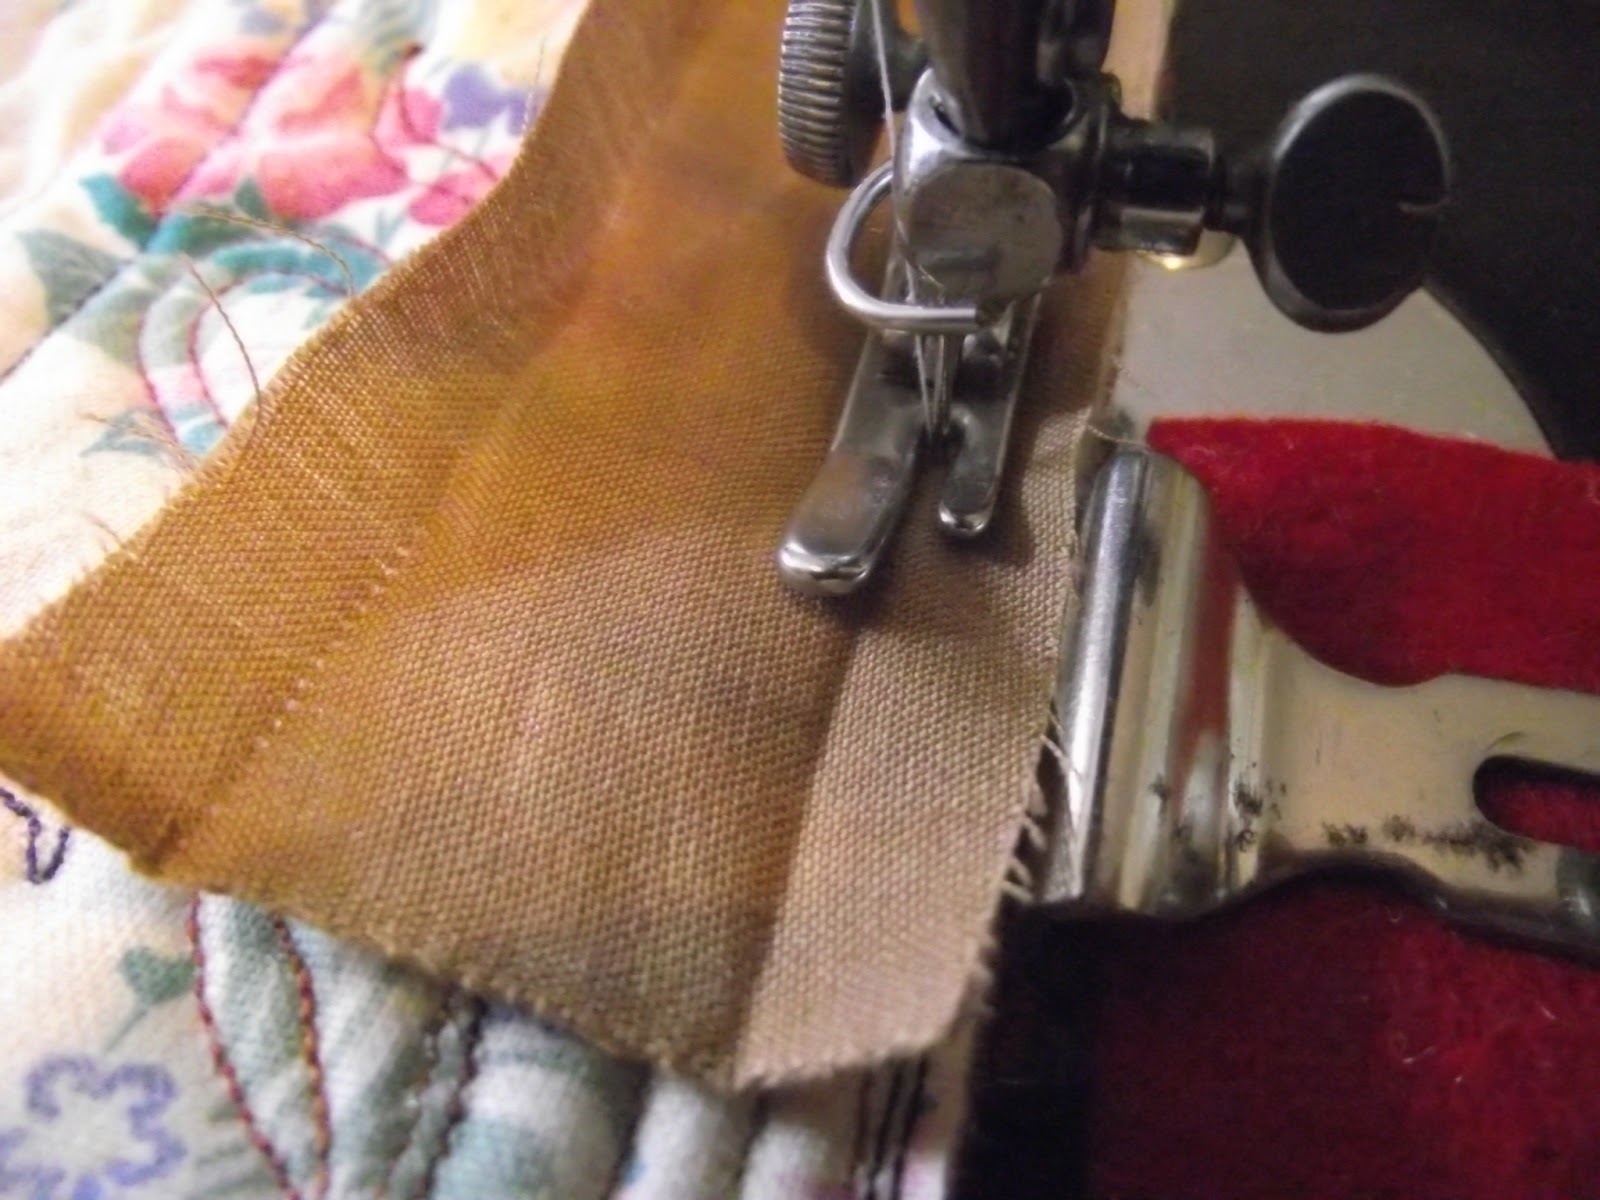
Next, I attach the binding. The binding is one and five eighths of an inch wide, with one side ironed over by about a quarter of an inch. The unironed edge is laid along the edge of the quilt on the back, and the seam guide set to approximately three eighths of an inch.
When the binding is folded over to the front, I place the needle through the work close to the edge of the binding, and then line up the seam guide with the edge of the work. Only then do I start stitching. The seam guide prevents the stitching veering off the edge of the binding.
Using the seam guide has helped me do my neatest binding and best corners ever. I don't know why it has never occurred to me to try this before. Linking up today with Connie's blog Freemotion by the Riverfor Linky Tuesday and Kelly's blogMy Quilt Infatuationfor Needle and Thread Thursday
Today's job was putting the binding on a miniature quilt. If the binding has a clean selvage edge on at least one end then there is no need to sew the strips together, they can be overlapped instead. The selvage on the first picture is a bit irregular, but this end will be hidden.
The first strip of binding is sewn on all but for the last three eighths of an inch or so.
The the second strip is put in place ready to sew, with the neat selvage edge lapped underneath the first strip. The hair grip is holding the second strip steady,
... so it is easy to stitch straight over the overlap.
When the binding is folded over to the other side, it is sewn in the opposite direction, so the second strip is now at the top of the picture. The first strip is folded underneath the second strip.
As the machine feeds the work through, the overlap has a tendency to pull out of place, so an unpicker is handy for poking the underneath layer back down and holding it flat.
Once the foot has the binding properly held down there is time to get the unpicker out of the way before it reaches the needle.
Here it is, finished. The overlap is fairly inconspicuous. Welcome to two new followers today, Ann Bassett and Joe Zuchowicz - thank you for joining!
About a year ago I did my first ever doll quilt swap on an internet quilting forum. I no longer had any excuses to fudge my corners, which up until then had been messy. I just wish I had discovered hair grips earlier. Some people like to fold over a double thickness strip instead of doing a single thickness strip as I show on the video. I have always been a bit wary of ending up with too much bulk, which is why I have always stuck to my method. Either way, the method of folding at the corners to get the mitre is the same. As for the doll quilts... yes I will show you the quilts I made and received. You can expect a little miniature quilt show, starting in the autumn!