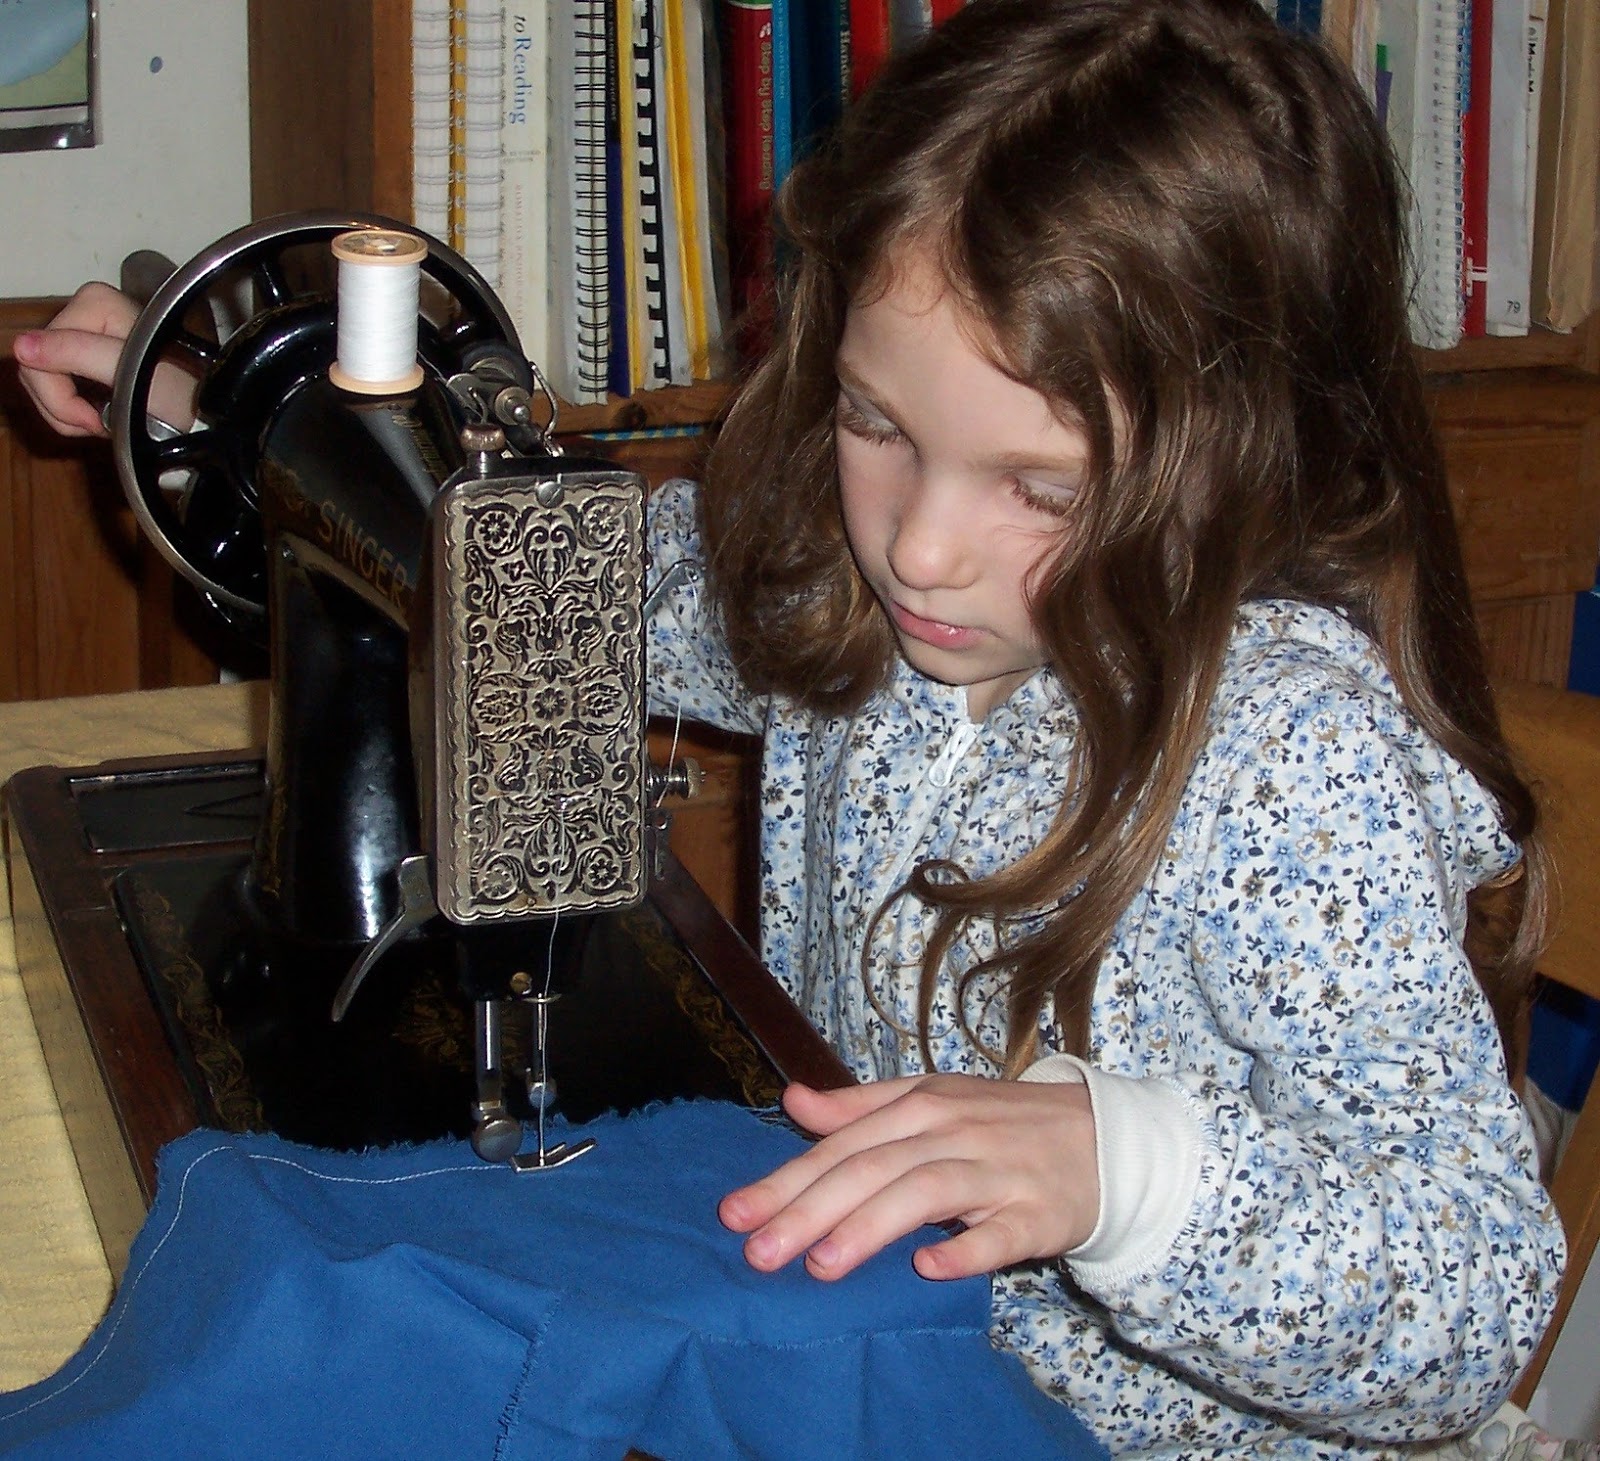
This is Miss H having her first go on the 1918 Singer 99K that I passed on to my friend Elizabeth before Christmas. Her lesson included some serious sewing...
...winding a bobbin...
... concentrating on keeping a straight line of stitching and not coming off the edge...
... and finally a bit of fun, with the emphasis on speed rather than direction. Will she be a free motion quilter or a cartographer? Looks like the coast of Cyprus to me.
I am told that Miss H means business and her first project is going to be a bag.
Many thanks to Elizabeth for the wonderful photos!
This Singer 99K is the machine that I have been using for all my basic straight stitch sewing for the last month. It is an earlier version of the 99K, and there are a few differences between it and the 1927 99K that I am especially fond of.
The serial number pinpoints the date of manufacture to the first half of 1916.
German machines had been very popular before the First World War, but imports had stopped. Singer made sure that nobody made any mistake as to where their machines were manufactured. By 1918 it seems they thought that people had got the message, but still stamped the machines on the underneath.
The tension discs are much smaller than on the later 99Ks.
These decals are on the back of the pillar, rather than on the inside.
The needle bar is very slender, much thinner than the presser bar.
The face plate has a different floral design to that on the 1927 machine.
Much as I enjoy playing spot the difference, the stitch produced by this machine is every bit as good as the stitch from my other 99K. I am looking forward to giving this machine plenty of use during its centenary year.
One of my friends mentioned a while ago that her sister was looking for a sewing machine. Her sister is teaching children to sew, and she has a particular little girl in mind who she wants to start off with a hand machine.
Meanwhile, this Singer 99K was sitting at home waiting for me to clean it up. My husband brought it home from work, where it had been given to him. It was one of those machines that had belonged to an aunt and hadn't been used for years.
The serial number dates the machine to 1918.
During the First World War Singer machines made in Scotland had "Made in Great Britain" stamped on them - in this case, on the underneath.
First I had to repair thethread guide on the face plate, then I had to free up the action. Despite these setbacks, cleaning up the machine was fairly straightforward. Unfortunately the plywood on the bottom of the base had split, so my husband replaced it. It looked as though at some point it had been standing in water, and the cover was missing, probably wrecked at the same time. However, there was no trace of rust or water damage to the actual machine, and it is now cleaned up and ready for use.
Now I am looking forward to hearing how the little girl takes to using this lovely old machine.
Looking at these first test stitches made by a 1918 Singer 99K, you would not be able to tell that two days previously I was hardly able to turn the wheel. This is the machine which has the improvised repair, the thread guide made from a safety pin.
The next big problem was that the mechanism was well and truly gummed up; in fact, so stiff that I was nervous of turning the handle too much in case I suddenly discovered a bit of hidden metal fatigue. The last thing I wanted was a snapped handle, so much of the time I was turning the wheel by hand.
First I cleared all the accumulated fluff from underneath the bobbin plate and needle plate and from behind the face plate. Next I cleaned up the stop motion screw and checked that the wheel was able to move freely. Then I gave the machine a very liberal oiling, and found that the movement was still very stiff, even after leaving the machine for hours to give the oil time to penetrate.
After a few turns the machine would start labouring. Somewhere there was a gummed up joint, but it wasn't obvious where just by looking. I could hear it creaking, and decided that the sound was coming from the bobbin mechanism underneath the machine.
One or more of these joints was objecting. The answer was paraffin, which I have used before to unstick stubborn parts. I wrapped a piece of old cotton rag around the entire bobbin mechanism, tied it with string, and soaked it with paraffin. Then I left it in place overnight, and this is how it looked the next morning - clean and very dry. The paraffin had removed all the fresh oil and all the old oil residue that was causing the problem. Once I had re-oiled underneath the machine, it turned freely.
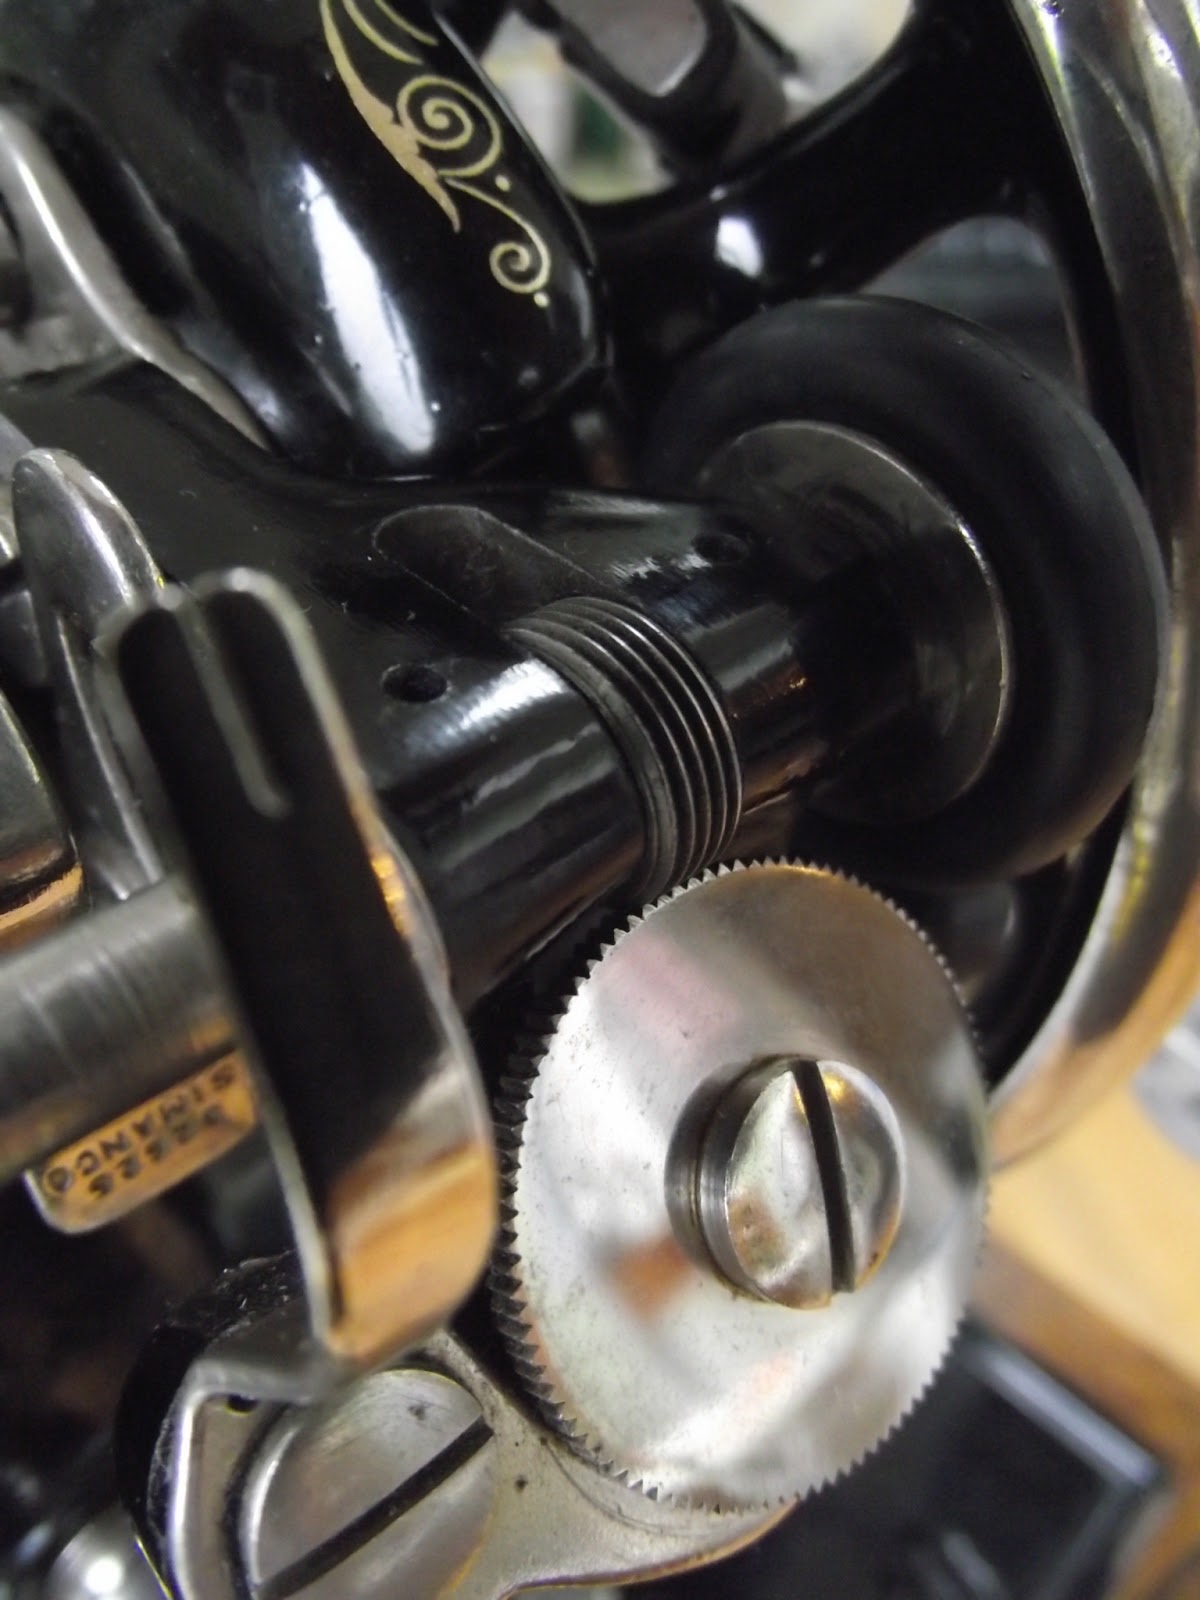
Now that I was able to turn the handle, it was obvious that the handcrank needed more oil than I had already given it. Essentially, the handcrank is made up of two cogs, which both need oiling.
The lower cog is oiled next to the large central screw, just behind the handle. The cocktail stick shows the oil hole. Note mug of tea lurking in the background. It helps.
The upper cog is oiled at the top of the arm that connects the handcrank with the wheel.
The machine was then left overnight, and next morning all I needed to do was wipe off the excess oil, especially from behind the handle, where it oozes out, bringing out black muck that has been hiding there for years. If you are too enthusiastic, and turn the handle before dabbing off around it, you can end up getting splattered.
And finally I had the thrill of getting this machine sewing for the first time in decades. Beautiful stitches, every bit as good as I had hoped.
Looking at a safety pin the other day, I realised that I had found the answer to the problem of the missing thread guide on the face plate that I showed last week. This cheap and nasty blunt safety pin got what it truly deserved. My husband's pliers double up as a nifty pair of wire cutters.
Next I used my jewellery pliers to bend the sides to fit inside the faceplate. The slight kink on the right was needed because the wire has to go over the pin that secured the original thread guide.
Next I poked it through the hole in the face plate and kept it in place with a couple of blobs of blue tack - this photo shows just one blob, before the second one went on.
Here is the inside once the blue tack is holding the improvised thread guide steady...
... ready for the wire on both sides to be covered with metal glue. I used J B Weld.
The glue needed to set overnight, so I put the face plate up on my bookshelf out of harm's way.
Although the glue was still a tiny bit tacky next morning, it was firm enough for me to put the face plate back on the machine.
While doing this repair it became apparent how the original thread guide must have been broken off. My theory is that the face plate was dropped face down onto a hard surface, so that the thread guide took the full force of the impact and was snapped off on the inside where it was attached to the plate. I must try not to let history repeat itself. I can just imagine dropping the plate face down and the wire popping out of the little beds of glue.
Now it seems worth giving the machine a thorough clean up. I just hope it turns out to be a good runner.
Lots of machines look like this when I first get them - a bit sad and grubby. This is a 1918 Singer 99K that was given to my husband to bring home to see if I could get it going. The movement is incredibly stiff, and I have checked under the needle plate and found the usual wads of fluff. The face plate didn't look too bad...
... until I was about to take it off and realised what was missing.
For comparison, here is my 1927 99K, with the thread going through the hook which the other machine has lost.
How on earth did that happen? There is no sign of damage to the outside of the faceplate, nor on the inside, but somehow it came to grief.
Needless to say, that stopped me in my tracks with the clean up job. I am mulling over whether to try an improvisation with a hair grip and metal glue. Time will tell. There's no rush.
Update: No, I scrapped the idea of a hair grip - see the repair here.
On Wednesday I tooka trip to Hampshire to stay with my friend Kate, and this sewing machine came with me, strapped in securely to the back seat by the seat belt. A while ago we arranged that I should get a machine on behalf of Kate's friend Lara. Lara had fond memories of her mother's machine, and I was more than happy to jump into the thrills and spills of Ebay. I did warn Lara that I might not find the ideal machine for a while, but as it turned out, this Singer 99K cropped up almost straight away. The price was right, I was the only bidder, and it was for personal collection only. The seller was in Surrey, about three miles from my brother, so he collected it for me. It lurked for a while at his house, until I brought it home in the boot of the car. It looks remarkably like my star machine, the 1927 Singer 99K, and has all the extras - the original manual, extension leaf and tin of attachments.
The serial number dates it to 1939. It is in superb condition. Apart from a bit of fluff and dust here and there, it barely needed cleaning. Checking it over, cleaning and oiling took barely half an hour.
It looks like one of those machines that was bought, used a few times, and then put away. Perhaps the date has something to do with it. So, after travelling from Surrey to Somerset and then to Hampshire, this machine has now found its way to Lara. Happy sewing Lara!
It was only yesterday that I cleaned the holes in the bed of my 1927 Singer 99K and attached the seam guide for the first time. I had forgotten that I had never been able to get the screw in because the hole was gummed up.
Having had good results with paraffin when cleaning up a Naumann machine with a stuck foot, I decided to try the same method to clean out the holes. I twisted the ends of a very narrow strip of cotton material and poked them up through the bed of the machine from below.
Underneath, in the base of the machine, I put a little ramekin with a tiny amount of paraffin in it. Once the machine was lowered back into the base, the cotton strip was left lying in the paraffin. It acted as a wick, soaking up the paraffin and breaking down the residue that was gumming up the screw thread. I left the cotton strip in place for a few hours.
Then, after removing the strip, I dipped an interdental toothbrush in paraffin and thoroughly cleaned the inside of the hole. It only took a few minutes, and then I was able to get the screw in. Success! Now I can use this machine with the seam guide. And I even remembered to take the ramekin out of the base.
Today was my first chance to get a picture of the whole of the Queen's Diamond Jubilee Quilt.
It was quite a thrill to see the Judges' Merit rosette attached to it. There are lots of firsts associated with this quilt - first large quilt with appliqué, first large quilt quilted entirely at home, first quilt made using the quilt-as-you-go method, first quilt show, first ribbon... When watching Leah Day's videos I remember her saying that to really get to grips with free motion quilting you just need to jump in and do a whole quilt, even if you just use one pattern on the quilt. I'm so glad I took her advice! The meandering pattern I did gave the quilt an all over texture which set off the colours and shapes of the appliqué in a way I really liked. I often wonder whether Leah ever imagined that people would watch her videos and then get started with free motion quilting on a treadle! The show is well worth a visit if you can get there. So many fabulous quilts! I took loads of photos, but at the moment I'm not sure whether I will be able to post them here. Show rules... Update Friday 17th May This post is now being linked up to Leah Day's blog for Free Motion Friday.
Welcome to the latest follower, handMADEina - thank you for joining! Thank you everyone for your lovely comments! They are greatly appreciated. Love, Muv
Today was the big day - a trip to Malvern to deliver the Queen's Diamond Jubilee Quilt to the Three Counties Showground for the Quilts UK 2013 exhibition later this week. This is just a peep of part of the label on the back. I thought the machines did so well, neither of them misbehaved once, so I gave them a mention on the label. Exciting week ahead!
It's the beautiful 1927 Singer 99K hand machine. It has already featured several times in past posts - click on the right hand side of the page on the heading "Singer 99K" and you will recognise this machine. Also it appears on several of my Youtube videos. It is the clean machine of the two shown on the video about removing slide plates, and it is used on the video showing mitred corners on quilt binding.
Last night I discovered a blog linky party hosted by Stacey Napier at her blog The Tilted Quilt If you visit her blog you will find lots of links to other blogs where people are showing their machines - old, new, all sorts - and the stories behind them. So here is the story of this machine. It came to me out of the blue. A friend came up to me at church one Sunday and told me he had a machine for me in the boot. He'd just done a house clearance. The conversation went something like this:- "I've got a machine for you if you want it." "What sort is it?" "Singer" "What model?" "Don't know, you'll have to tell me." "Hand machine or electric?" "Don't know." "Is it a black one?" "Don't know. Haven't taken the lid off yet." This is where I started yelling in disbelief. We went to his car, and I was expecting a run of the mill wreck. When he opened the boot the first thing I spotted next to the case was the old foot pedal. Disappointment was about to take hold, and then I saw the hand crank, the genuine Singer part, not reproduction rubbish, lying on the floor of the boot. All was not lost. Then he took the lid off.
This is what the machine was like when I got it. It was a bit dusty and lacklustre, with a melted bobbin winder tyre (I've not seen the like before or since) and (to my eyes) the odd, unbalanced look that a machine has when it has been deprived of its handle.
Here is the rear view. The old motor is so ugly.
And here is the top view. You can see that the decals are in good condition. All this machine needed was to have the terrifying old motor and light taken off, the handle back on, and a thorough cleaning and oiling.
So it was time to make a video, which is the sewing machine version of The Ugly Duckling. This 99K is now one of the machines that I could not do without. So a big thank you to my friend Phil, for finding it, and thank you to Stacey for hosting the linky party. And hello to the latest follower, Deb. Thank you for joining!
To see the old year out, here is the Queen's Diamond Jubilee Quilt, made entirely on two vintage machines, my 1927 99K hand machine and 1945 15K treadle, with hand stitched blanket stitch around the appliqué. I finished it a few days before Christmas. So far this is the best photograph I have been able to take. Big quilt, small house, poor light... Soon enough I hope to have better photos and will tell you a bit more about it, but we are expecting visitors today so I can't linger. So whether your plans are for a quiet time or a riotous one tonight Happy New Year! Love, Muv xxx
This is my Singer 99K. Other models have the same bobbin winder, the Singer 66 and some class 15s. Recently the tyre hasn't been making good contact with the wheel when I have been winding bobbins. I have been being lazy and just pressing it rather than walking across the room to get the screwdriver. I have finally fixed it today and it took me all of twelve seconds. It is the big screw at the top left of the picture that needs to be loosened and the metal bracket it holds in place needs to be repositioned by a fraction. To find the right position, press the bobbin winder so that the tyre makes good contact with the wheel, then tighten the screw. The irritating part of this job is that the screw is tucked into a fairly tight space, not giving an awful lot of room for your screwdriver to get at it. This shouldn't be too much of a problem if the screw isn't gummed up or jammed too tight.
If you can't get the screw to move, you can take off the belt guard, to which the bobbin winder is attached. To do this you take out the screw on the left in the picture above, and the whole component can be taken off. Once the adjustment screw is freed up, put the belt guard back on and make the adjustment with the bobbin winder in place. It really is that simple.
... and bring the dining room table back into normal service before this quilt grows big enough to bury everything in sight... That is the 1927 Singer 99K hand machine just getting in on the picture. It has been doing sterling work.
I am looking forward to no mega-projects next year. Quick and easy will be the theme for 2013. Can't wait.
On old machines you frequently find that the rubber tyres on the bobbin winders are cracked and brittle with age. My 1927 Singer 99K was an exception. This is the state it was in when I got it. For some reason, don't ask me how, the tyre had melted, sticking to everything in its path. Some of it was sticking to the bobbin winder.
The rest of the rubber had dripped down to the bed of the machine below, settling into a horrible sticky blob, even running off to the right and gumming up the lid of the side compartment.
Fortunately cleaning it off wasn't as bad as I anticipated. I pulled off most of it with my fingernails. Now the machine has a new tyre, and there has been no lasting damage to the bobbin winder.
The last traces on the bed of the machine came off after I rubbed undiluted washing-up liquid over it. I am always a bit nervous of damaging the decals, so it is always best to try out on a tiny area first, but there was no harm done here.